Tag: gluten free

  • Garbanzo Quick Grub

    Garbanzo Quick Grub

    Intro

    Did you know that Biryani is a call for a celebration!! It is one of my favourite one pot recipe layered in flavours, cooked with lot of imperfections to make a perfect dish of celebration.

    Origin

    Biryani has been introduced to this world, well it is unsure. The mystery makes it even more enticing to have a delicious dish. It is the most popular dish prepared, served and eaten mostly in India, nevertheless the finest introduction to the world of cuisine. It is a rice dish mixed with meat, vegetables, or nuts along with spices. It is made with different spices in different parts of the India. There’s spicy ones and there’s flavourful ones. The debate is still on, non-vegetarians scrutinizing a vegetable biryani as a pulav, and won’t let us vegan or vegetarians enjoy a biryani in peace. LOL… 😁Nonetheless, here I am, appreciating the pioneers of biryani and spreading my love for it.

    Select Your Protein

    This recipe is gluten free, vegan, vegetarian, delicious and guess what, a homemade which can be your favourite. You can modify it with your choice of protein, like chicken, mutton, tofu, paneer, chickpeas, bean variety, and vegetables. It is a stand alone one pot meal or can be part of your meal preps. I made it with all the pantry supplies accessible to most of us these days. If you want to enjoy your journey of vegan, or want to become one, this can be a top notch recipe to start with. But First a BIG shout out to VAHCHEF for introducing this recipe to the world. Now, let’s be quick to fix this box.

    ***psst!***Don’t forget the free download for quick inspiration or for fancy fridge magnets.

    Ingredients

    The ingredients are for spice level 5 on scale of 10. It is assuredly up for some game if you are spice tolerant. Just eyeball if not sure!!!

    Equipment

    Directions

    1. Preheat the Airfryer at 400ºF.
    2. Marinade the chickpeas with all the ingredients except rice.
    3. Keep aside a quarter of the marination without chickpeas.

    Biryani Box

    1. Start by gently layering the 70-60 % cooked rice and marination in an oven safe steel container.
    2. Add the marinated chickpeas on top and extra fried onions.
    3. Place the Biryani box in the airfryer, set the temp to 360ºF for first 5 mins, later set it to 300ºF for 10 mins.
    4. Turn off the Air fryer and rest the Biryani box in the airfryer for 5 more min. Take it out carefully.
    5. The Biryani in a box is done and ready to be chowed down.
    Favourite Add ins
    • Mushrooms
    • Carrots
    • Potatoes
    • String beans
    • Corn
    • Baby corn
    • Boiled Egg
    Favourite accompaniments
    • Yogurt mixed with onions, chilli, lemon juice and cilantro with a dash of salt.
    • Yogurt mixed with cucumber and carrot shreds, with a squeeze of lime.
    • Yogurt mixed with tomatoes, cucumber with a dash of salt.

    Nutritional Value

    The information here is just an estimate and derived from an online nutritional analyzer or calculators. It is only for courtesy and convenience. Not to be considered as an alternative to professional’s advice.

    • This is a quick fix for a minimum of 2 people.
    • Firstly, Biryani is an emotion. It makes a satisfying meal.
    • Owing to the type of meat, it varies in the nutrients it offers, and never holds back on flavours.
    • Chickpeas biryani is rich in fiber and protein, which makes you feel full and satiated and reduce calorie intake.
    • They not only help in digestion due its fiber, but also might help in blood sugar regulation.
    • Chickpeas are inexpensive.
    • This recipe is a complete plant based meal. Nothing fancy or beyond the pantry shelves.
    • Various studies have shown that unsweetened coconut milk has very good effect on HDL“good” cholesterol levels and heart wellness.Even though unsweetened coconut milk is full of calories, it is said to have small amounts of MCT’s.
    • The spices like chili, garlic and ginger along with condiments like turmeric, garam masala are used in right amounts to bring out the benefits and right flavours of the dish.
    • Having biryani everyday may be frowned upon, but nothing beats a homemade biryani with your favourite add ins and accompaniments to have everyday 😉😉 with this easy, delicious, quick fix box.

    For the Graphic Food Lovers

    Free pdf Download Below

    Download the free printable (PDF)

  • A Date with Fruit and Nuts

    A Date with Fruit and Nuts

    Intro

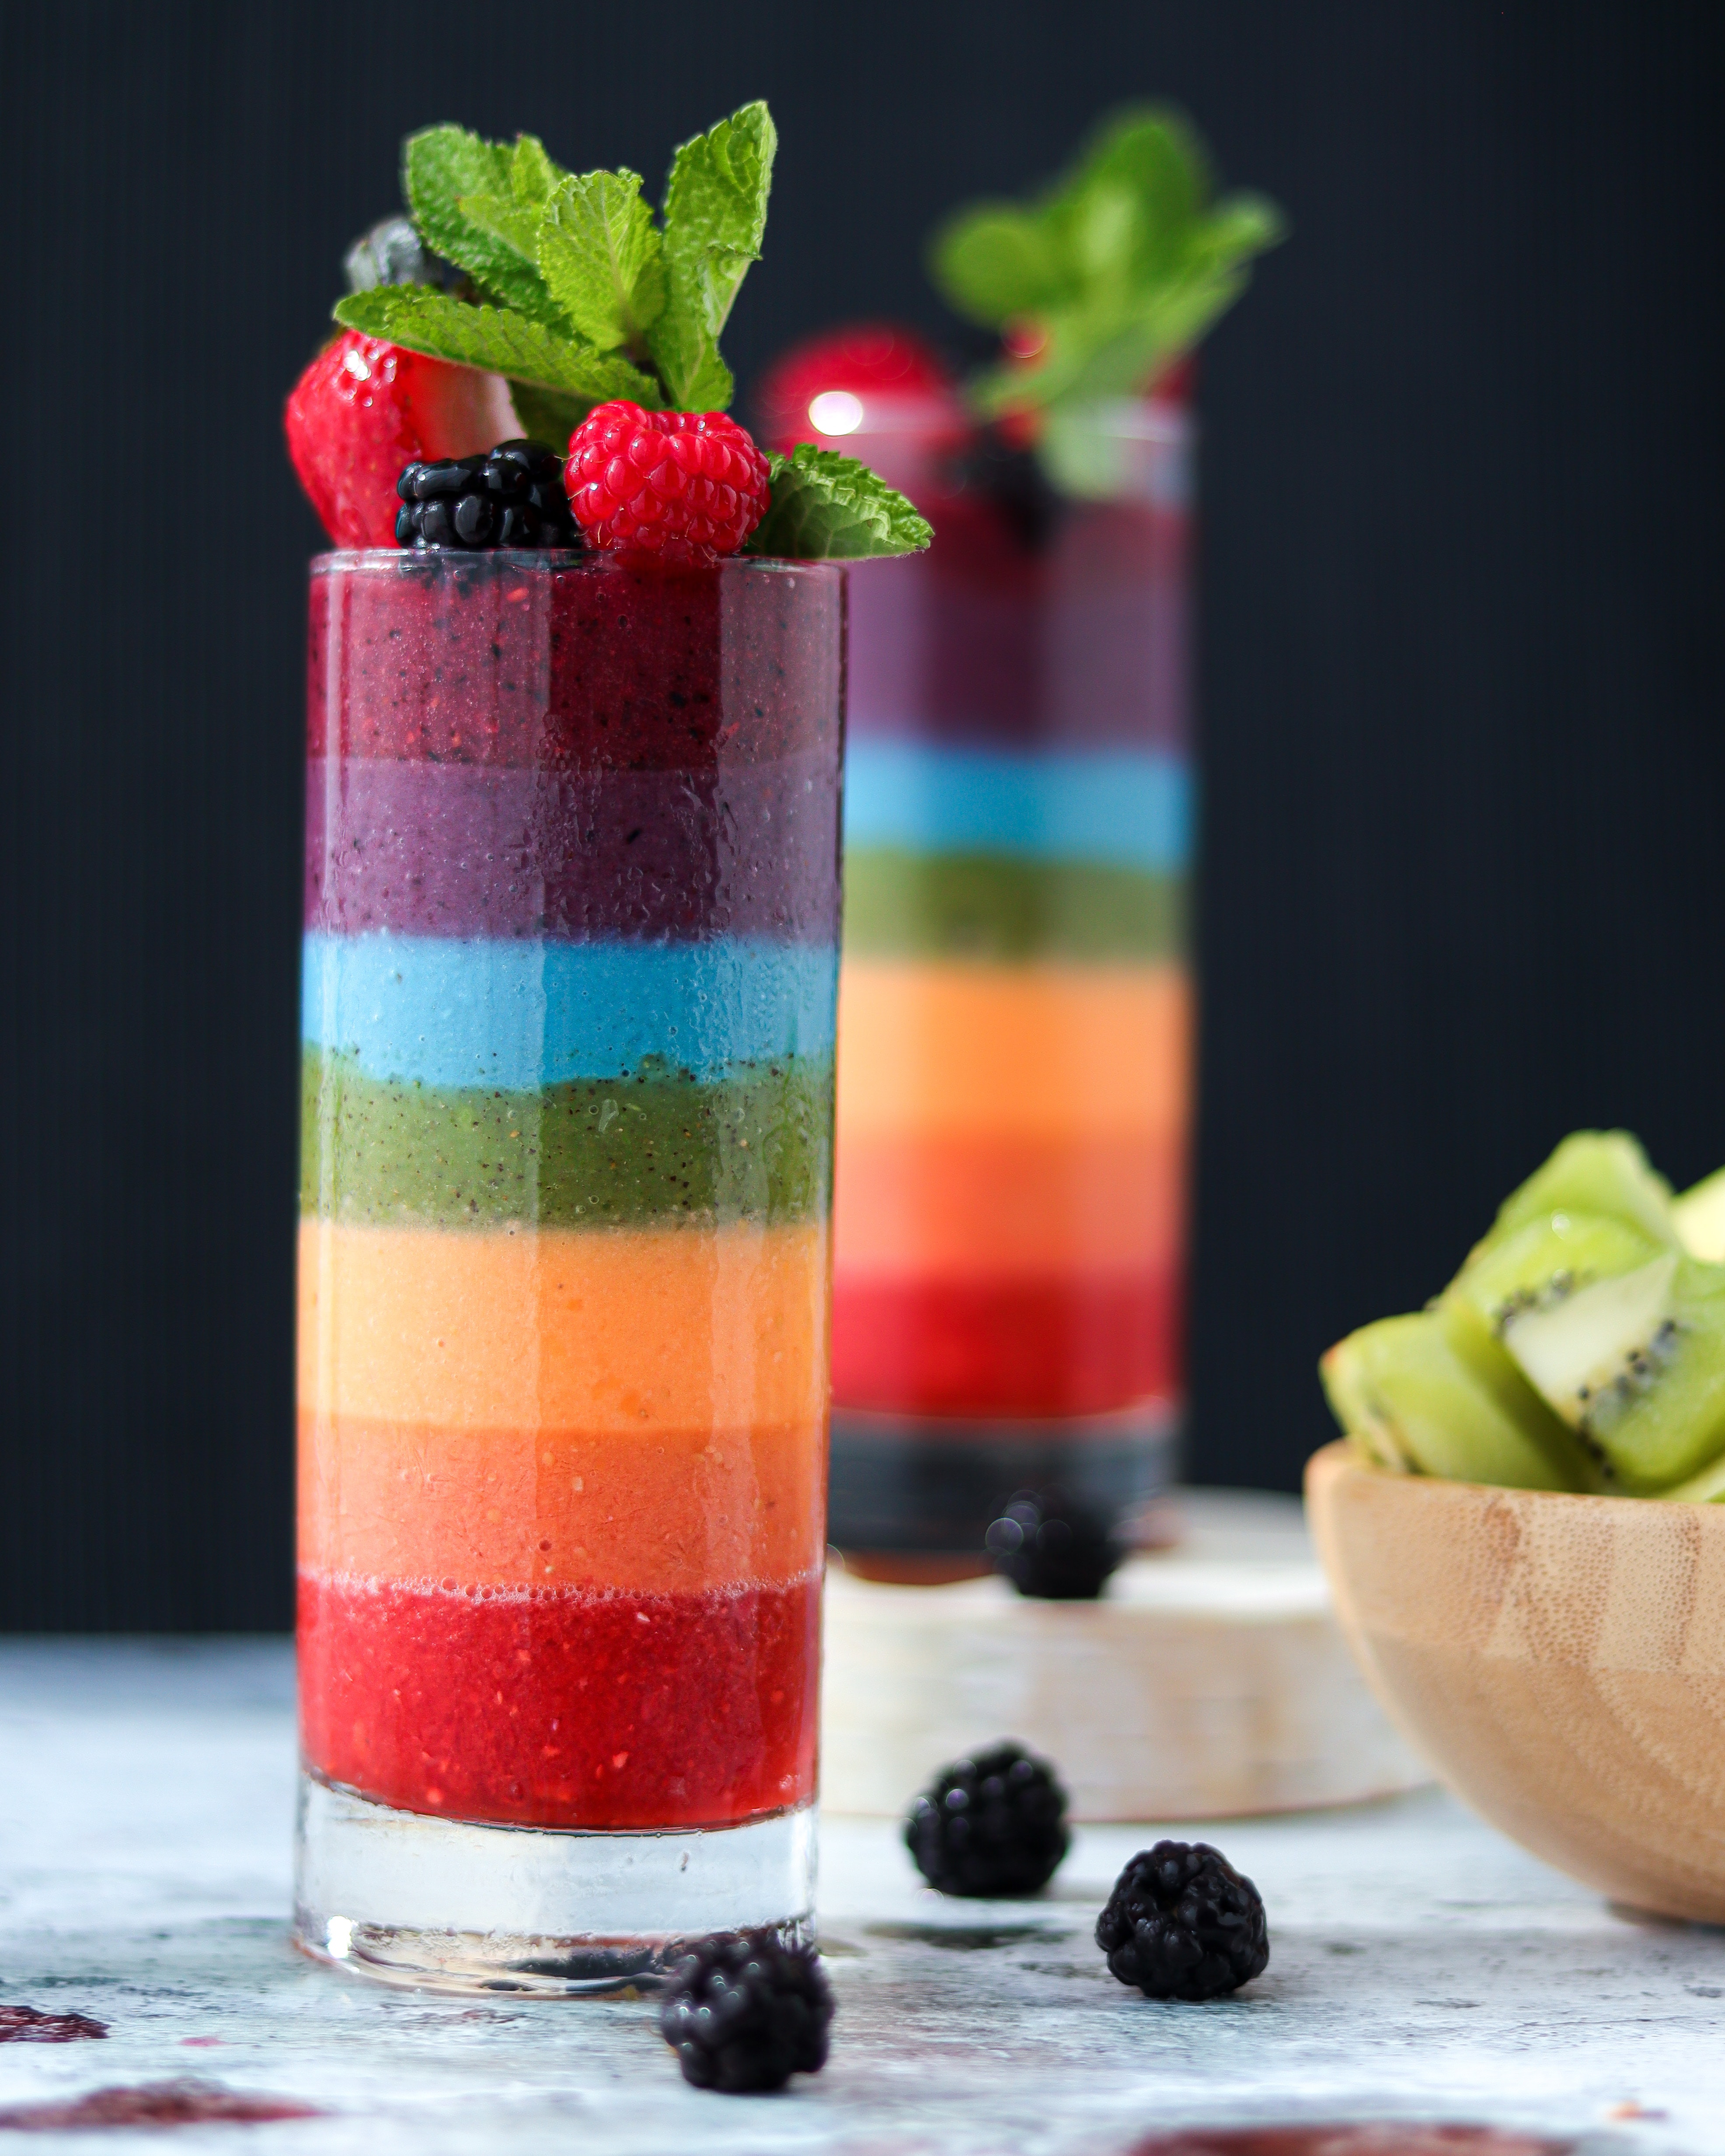
    Smoothie is one of my favourite way to add nutrients from various fruits in a single sip. It might be best included as a part of your diet as well, rather than being your only diet. It sure makes for a great snack or for breakfast.

    The smoothie recipes here use ingredients promisingly, easy, delicious and readily accessible to you, at home, and they can be your favourite ingredients as well, or something you always wanted to try.

    Store bought fruit smoothie can be great to taste, but at the cost of other ingredients we never heard of. The smoothies are best made at home with a high speed blender and can be enjoyed all year long. There’s no sugar added, and everything comes from fruits and nuts we are familiar with. It can be 100% organic and allergen free nonetheless nutritious and healthy.

    This recipe is still delectable with interchanging fruits and vegetables, and hence challenging a store bought smoothie. So, why not dive into this easy, quick, two-step smoothie recipe.

    ***psst!***Don’t forget the free download for quick inspiration, or for fancy fridge magnets.

    Ingredients

    Directions

    1. Soak pitted dates, raw almond and cashew nuts in hot water for 10-15 mins.
    2. In a High Speed blender, add 2 cups almond milk ,add soaked dry fruit and nuts , and cup of water and frozen fruit.
    3. Blend until everything comes together smoothly.
    4. Add more water if you want a runny consistency.
    Interchange
    • You can swap almond milk with any plant based milk or simply water.
    • You can use only one type of nut if you are allergic to one or the other.
    • You can swap kale to spinach.
    • You can use mixed berry variety for strawberries.

    Nutritional Facts

    The information here is just an estimate and derived from an online nutritional analyzer or calculators. it is only for courtesy and convenience. Not to be considered as an alternative to professional’s advice.

    • This recipe serves 3.
    • Nuts in your smoothie can be a great way to amp up the smoothie power.
    • Almonds and Cashews are great ones to start with if you are new to the smoothie game. They are full of calories, since they mostly contain healthy form of fats.
    • These nuts are rich in protein, iron and calcium. Once added to your smoothie it often gives you the satiated feeling.
    • Dates are the nature’s sugar, without any processing. It’s acute sweetness gives smoothie the rich and sugary taste.
    • Dates are rich in antioxidants, fibers. They aid in reducing the risk of heart diseases, cancers and other chronic illnesses.
    • They are vital in controlling blood sugars,the GI of dates is lower than table sugar and might help in managing diabetes.
    • The fruits like strawberries and mangoes are nutrient dense and helps in improving our immune system by preventing diseases.
    • Spinach is a great addition to the smoothie as it is an excellent health boosting ingredient. It is rich in iron, and has nitrates that are shown to boost heart health.
    • Smoothie can be your homemade favourite to enjoy with so many nutrient dense, healthy, and delicious benefits.

    For The Graphic Food Lovers

    Free pdf Download Below

    Download the free printable (PDF)

  • Quick’r Tupp’r Yogurt

    Quick’r Tupp’r Yogurt

    Intro

    Growing up in a tropical climate , yogurt always came to aid to cool down the body’s heat. My afternoon lunch at school always had yoghurt and rice. up until I graduated. After a full summer activity, the yogurt was churned with some salt and lime to make a savoury, delicious and refreshing drink.

    Yogurt has a lot of benefits nutritionally. It may be used to have on its own, or added to the smoothies for protein and thickness, put in sauces and curries for richness and sourness, and many more things to do with it.

    This is all about how you can make yogurt at home with your own starter, filled with probiotics naturally and avoiding processed, packaged and parceled things.

    It is delicious, homemade, easy and quick to make.

    psst! Don’t forget the free download for quick peek in your kitchen, and unconditionally share the love.

    Starter Method

    In a deep saucepan, on a medium heat, boil the milk until there’s cream layer on top.

    1. Pour the milk in heat proof bowls.
    2. Wait until the milk is luke warm to touch.
    3. Pour the milk in two seperate small bowls.

      1. Add 2 – 3 green chillies with stalks still intact (preferably bird eye chillies, or the kind found in Asian stores)
      1. Add 2 dry red chillies with stalks
    4. Cover the bowls with a lid not too tight and place it in a warm place.(in the microwave with it’s light on, or an oven with its light on)

    5. In about 10 – 12 hours, yoghurt starters are ready to use.

    6. The bowls have different consistency, so pick one and make it your starter.

    7. These starters are not to be eaten fresh because they might tend to taste very tangy and sour.

    Homemade Yogurt

    1. Boil about 1/2 a gal homogenous whole milk on medium heat.
    2. Transfer the milk to the heat proof bowl when lukewarm, or warm to touch.
    3. Stir in about 2 tbsp of starters, (without the chillies) that is freshly made.
    4. Cover your bowl lightly and place it in a warm place.
    5. Leave it overnight or for 6 – 8 hours.

    6. Once it is done, you have the yogurt ready to be ingested with all its natural probiotics.

    7. All you will need is a couple of tablespoons of this same yogurt to make a fresh batch of yogurt.
    8. It is as easy as a breeze with little time on hands.

    Nutritional Facts

    The information here is just an estimate and derived from an online nutritional analyzer or calculators. it is only for courtesy and convenience. Not to be considered as an alternative to professional’s advice.

    • Theserving for this recipe is about 8 – 10.
    • Yogurt is best known for its probiotics, providing boost to your gut health.
    • Plain Yogurt devoid any added sugars, and only natural sugars found in a healthy food.
    • It is a good source of protein, you can boost your protein shakes with 1/2 cup yogurt.
    • Amazingly rich in calcium, bone health may be improved.
    • Studies have shown very convincing results for muscle strengthening with yogurt consumption.
    • Yogurt not only a snack all by itself but can be included in your snacks, like granola cups, fruit cups, savory dips, and accompaniment for spicy dishes.
    • This easy, delicious, homemade yogurt makes its special and just few steps away to make it into your favorite dishes.

    !!NOT A DAIRY FREE!!

    For The Graphic Food Lovers

    Free pdf Download Below

    Download the free printable (PDF)

  • Yes, Naan Can

    Yes, Naan Can

    Intro

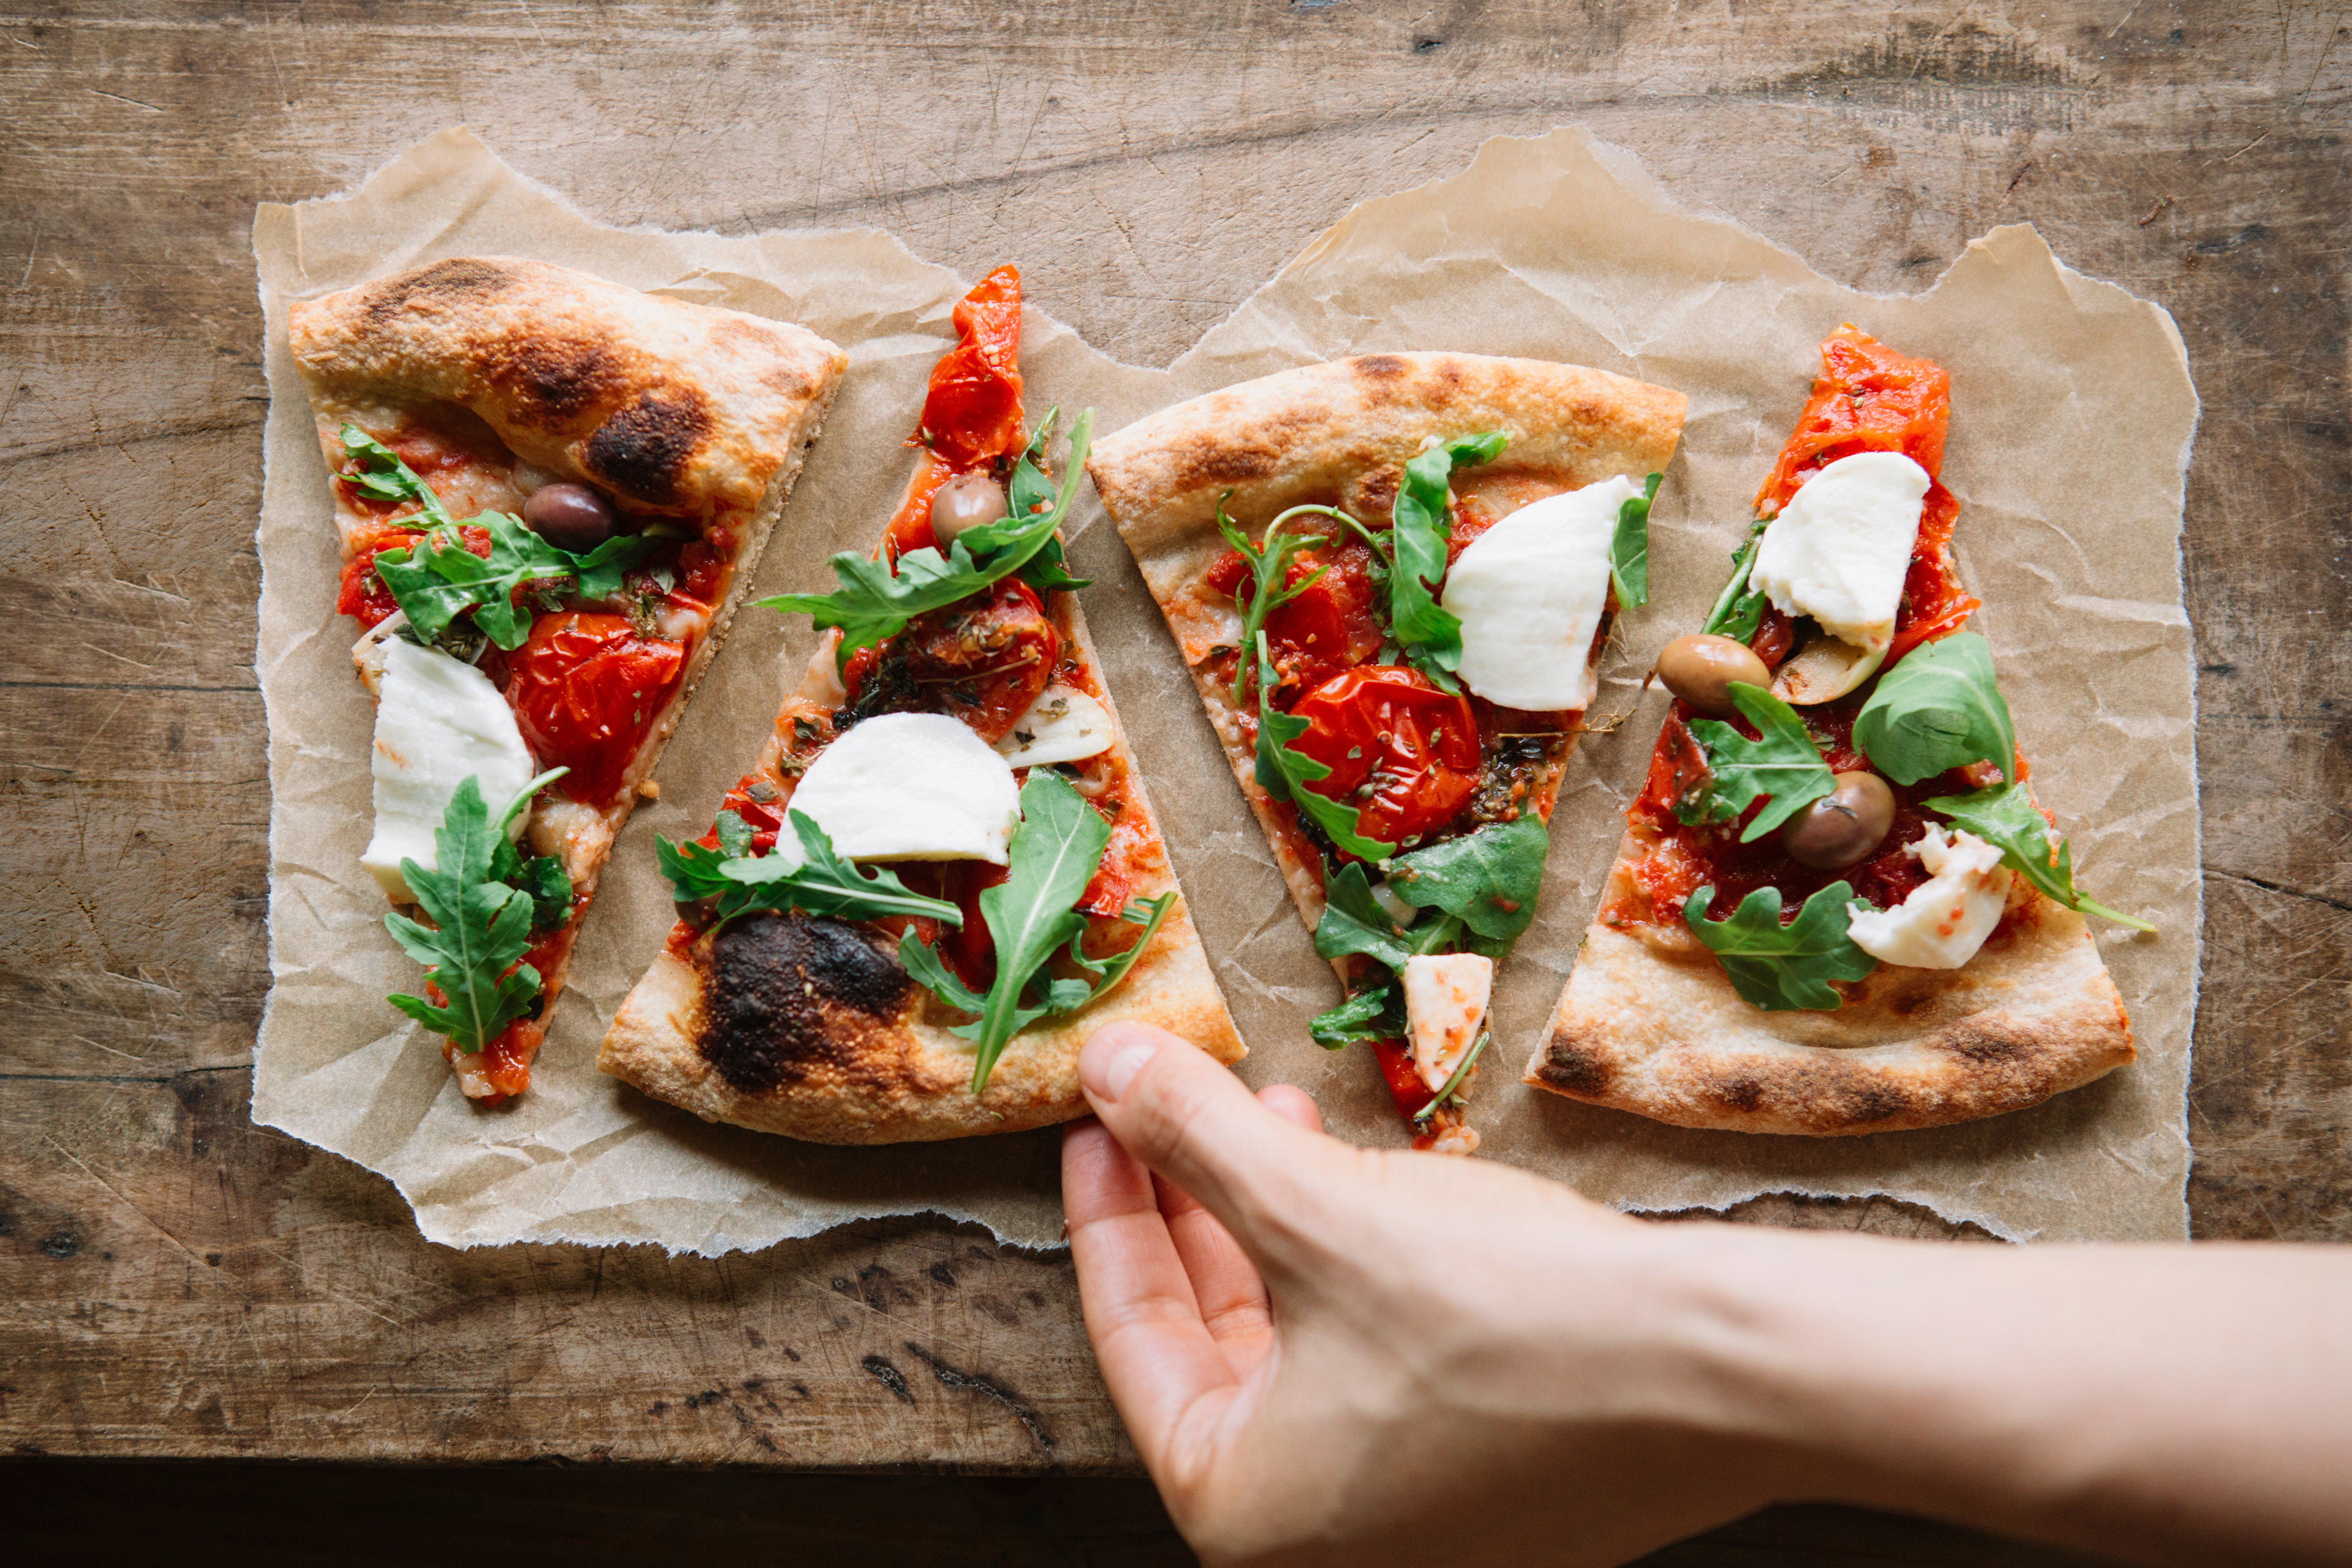
    Yes, You heard it right. Naan can Pizza.

    Naan is dated back to approx. 2,500 years and has now become the popular bread in parts of Asia, like India, and its neighboring countries Pakistan, Afghanistan, Myanmar. It’s a flatbread made with flour and water, often made in a Tandoor (a traditional clay oven) ,sometimes on a metal griddle. There’s an assortment of naans like Garlic naan, plain naan, butter naan, Peshwari naan with nuts on top, and many more.

    Naan is served uniquely in different regions of the world making it a unique flat bread. It is served as a complement with curries to make a meal, or simply with tea or coffee for breakfast.

    Naan can be bought from a store or made at home following few easy steps, by adding water to flour, instant yeast, and oil and make into a soft dough. Since naan can be prepared in many ways, I would love you to try this homemade pizza with naan as a makeshift pizza base. It is easy ,vegan, vegetarian, dairy free, and deliciously homemade.

    ***psst!***Don’t forget the free download for quick inspiration and inspiriting others with your twists, and your take on this recipe.

    Ingredients

    Directions

    Base sauce

    In a bowl, mix together ,the signature homemade cheese sauce with tomato sauce mixed italian herbs , finely chopped garlic and pepper to taste.

    Smear + Toppings
    1. Smear the base sauce onto the naan.
    2. Add your fav toppings like chopped olives, peppers, eggplant, mushrooms and spinach, preferably uncooked.
    3. Add dollop of cheese sauce onto the veggie.
    4. Sprinkle sliced basil on top for extra richness.
    Bake/Air Fry
    • In a Preheated oven, bake your naan at 350ºF for 6-10 mins or until the toppings are thoroughly cooked.
    • In a Preheated Air fryer, air fry your naan at 360ºF for 10 mins or until the toppings are nice and cooked.

    In addition you can add your fav vegan cheese if you prefer. My fav. so far is Daiya mozzarella cheese.(not an advertisement)

    Nutritional Facts

    The information here is just an estimate and derived from an online nutritional analyzer or calculators. it is only for courtesy and convenience. Not to be considered as an alternative to professional’s advice.

    • A whole wheat naan is fiber rich and hence can improve gut health.1º
    • The veggies are rich in antioxidants and variety of vitamins and minerals, therefore provide lots of health benefits from lowering blood sugar levels to decreasing the risk of certain cancers.2º
    • Naan paired with vegetables and beans make it more nutritious and healthy.
    • The cheese sauce used here has lot of benefits like improving immunity and gut health.
    • This recipe gives all the best a naan and a pizza can offer, with what’s in the pantry.
    • This recipe is totally modifiable with gluten free naan.
    • Let’s make the naan inspiriting with easy to make, delicious at its best and one of the homemade favorite Pizza.

    My recipes analysed @VeryWellFit.

    For The Graphic Food Lovers

    Free pdf Download Below

    Download the free printable (PDF)

  • No Say Queso Quesadilla

    No Say Queso Quesadilla

    Intro

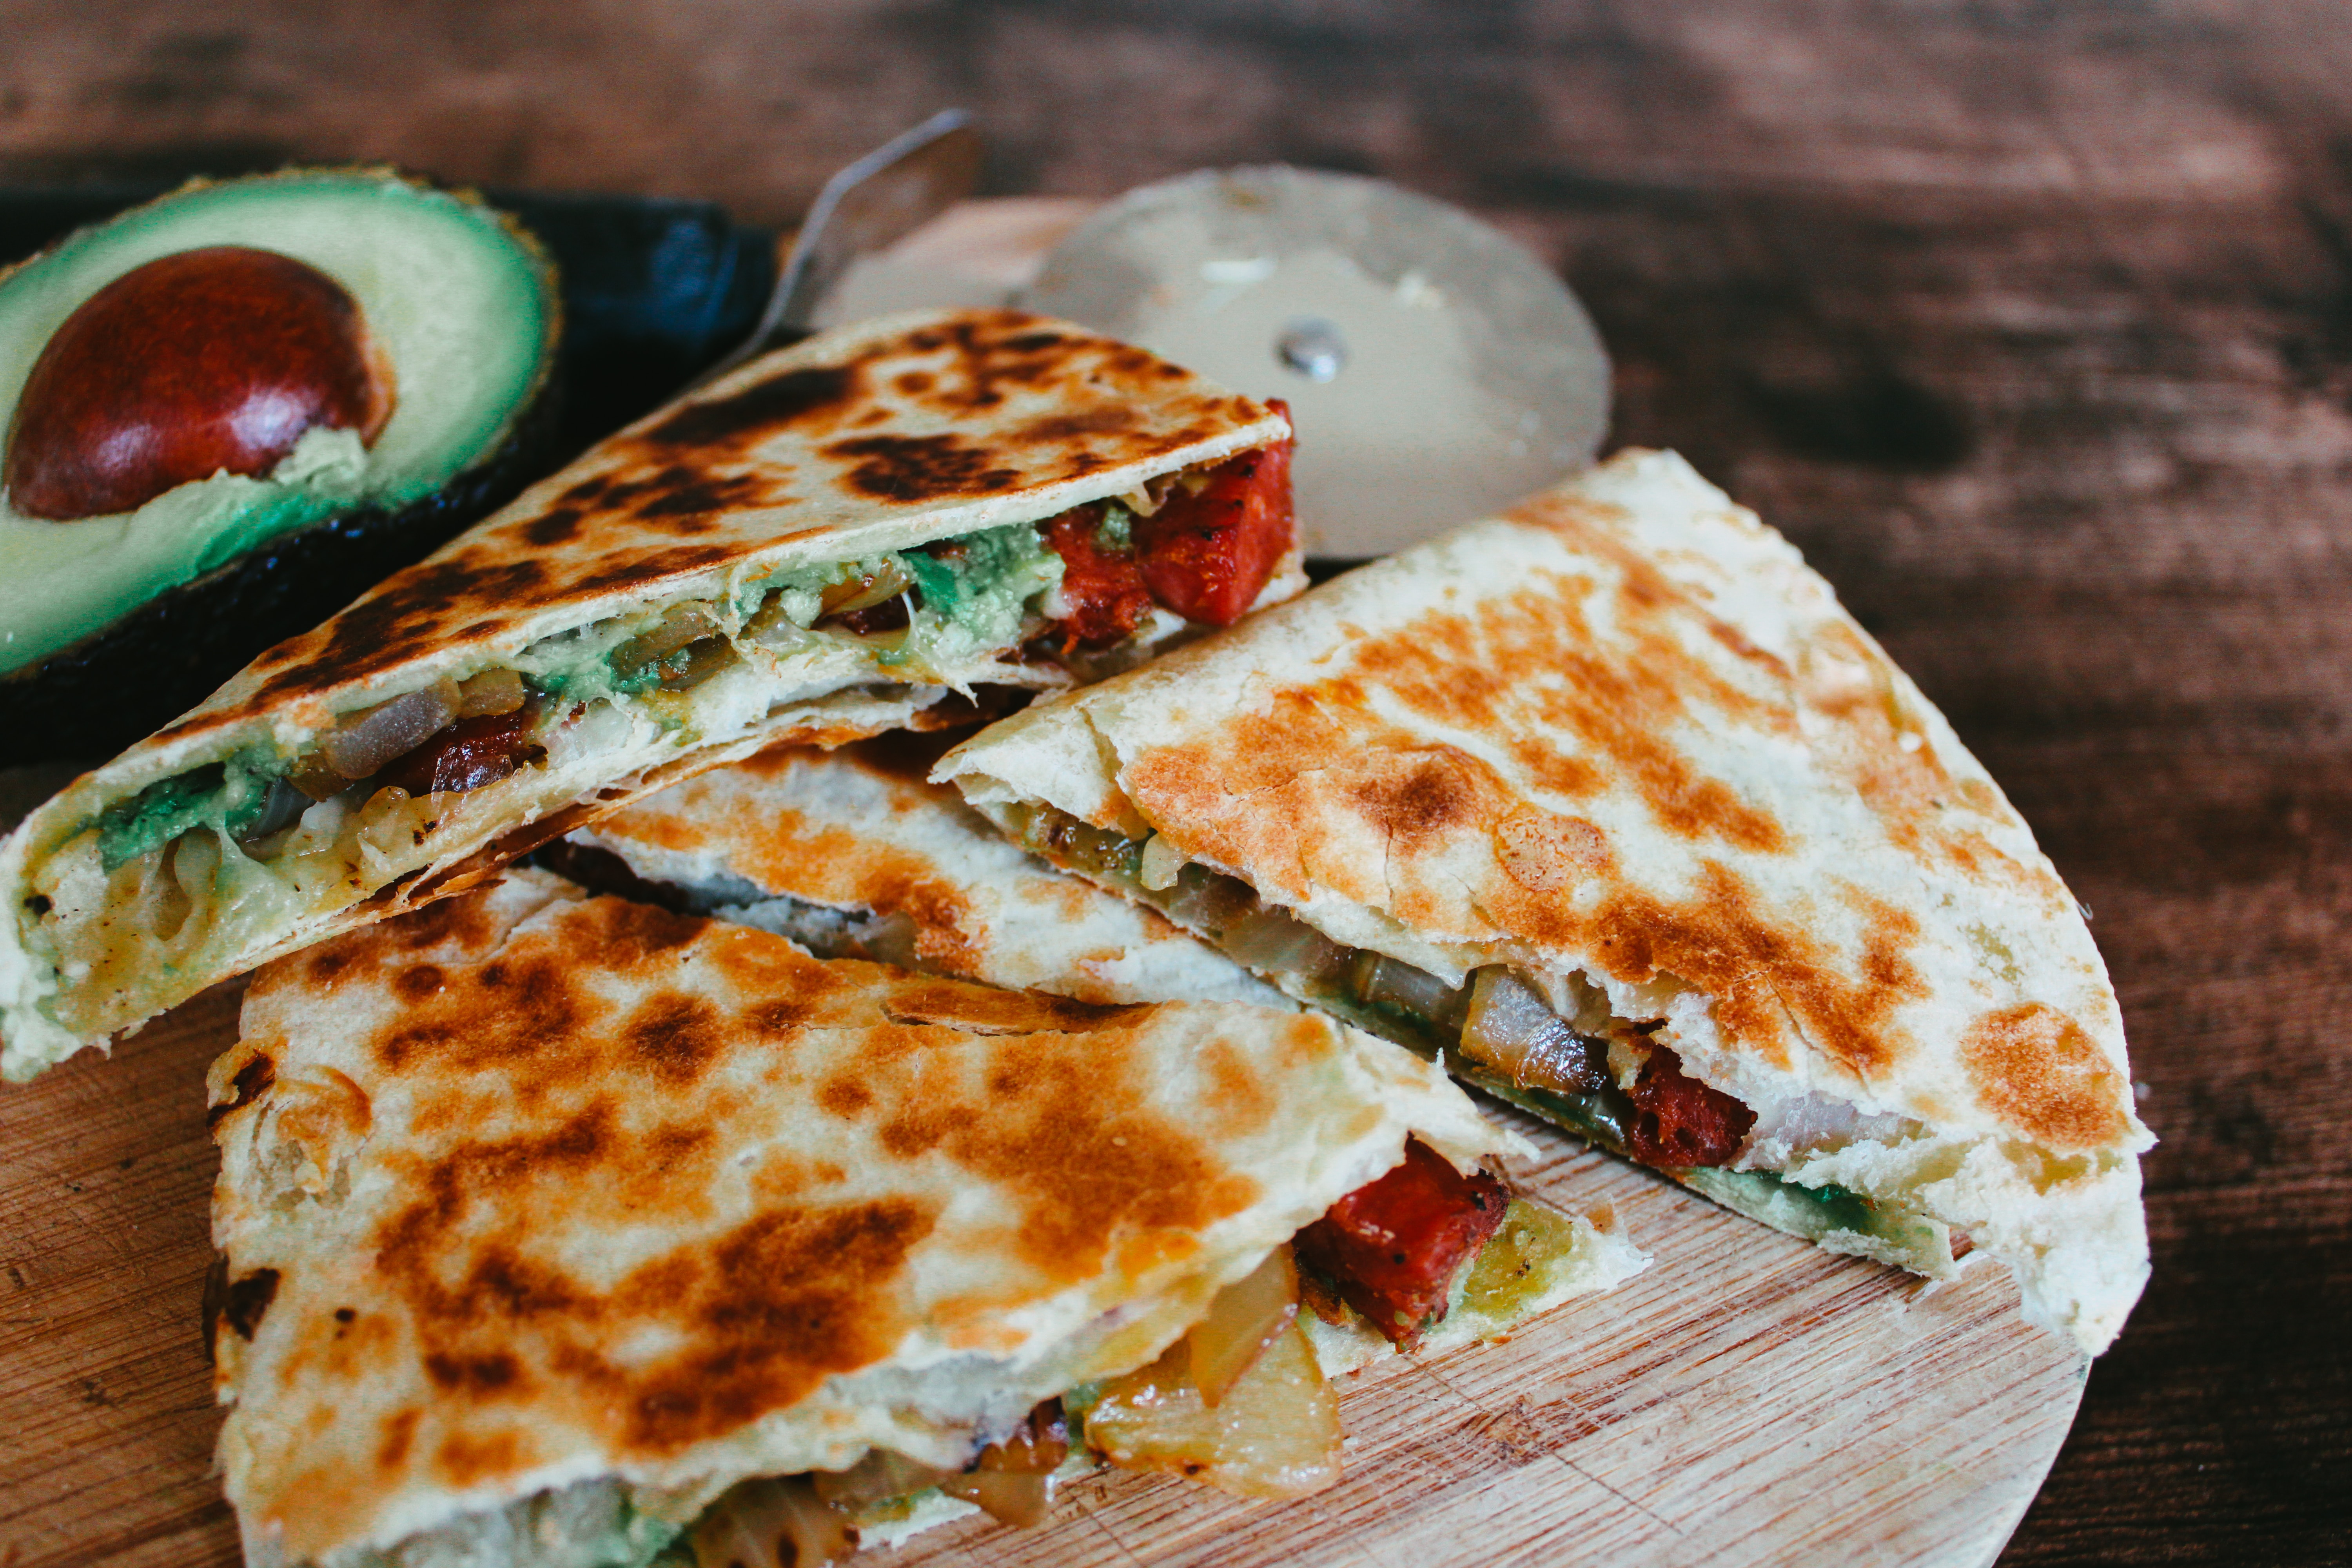
    This is easy, quick, delicious, gluten free, healthy and palatable quesadilla. It might beat the restaurant style quesadilla. The restaurants might have some pretty looking but not filling quesadillas, and once you try this recipe you might want to have it only at home, which is dairy free and affordable as well.

    I used my fav homemade corn tortillas and rummaged vegetables in the refrigerator. I always have boiled and frozen variety of beans for scenarios like this. To pair with it there’s a savory Mayo-N-Guacamole , which is totally customizable with vegan mayo.The cheese sauce in this recipe is my signature No cheese Cheese sauce (Say Cheese).

    ***psst!***Don’t forget the free download for quick inspiration and to inspire others with your twists.

    Ingredients

    Directions

    Saute and season
    • In a Fry pan, add enough oil to sear your veggies.
    • Add salt, cayenne and cumin powder
    • Finally, garnish with cilantro.
    Spread and fill
    • Spread the homemade Say Cheesesauce on the tortilla.
    • Fill it up with enough seared veggies and fold into half circle.
    Fry and slice
    • Fry or grill your folded tortilla by flipping over twice and pressing lightly.
    • Once fried, slice the tortilla into triangles and plate.
    Dip and dive
    • Dip and Dive in with your favourite dips.
    • This vegan Quesadilla matches with homemade Mayo-N-Guac and salsa.

    Nutritional Facts

    The information here is just an estimate and derived from an online nutritional analyzer or calculators. it is only for courtesy and convenience. Not to be considered as an alternative to professional’s advice.

    • This recipe is approx. 5-6 servings.
    • 100% Corn tortillas transcend over Flour tortillas for their gluten free and fibre rich nature.
    • These are low in calories and fat.
    • The veggies make this recipe fulfilling.
    • Cooked Red beans make it protein rich , which is why they name them “poor man’s meat”. They have low GI making them effective for blood sugar control.
    • It is zero in cholesterol when the veggies are baked.
    • The taste and the ingredients used are ultimately flavourful, and it is safe to say you could give it a try and get inspired or let me in on your secrets with homemade quesadillas, and inspire me.

    My recipes are analyzed @VeryWellFit.

    For Graphic Food Lovers

    Free pdf Download Below

    Download the free printable (PDF)

  • Say Cheese

    Say Cheese

    Intro

    Real cheese is traditionally made from dairy , but what about vegan cheese? Vegan cheese is made with one or more veggie along with nuts and oils. Of course, there are a collection of store bought vegan cheese but at the cost of preservatives and things which we might be sceptical about.

    This is a two easy quick steps recipe you can follow to make a homemade, vegan, dairy free, yummy delicious cheese sauce. The ingredients are easy and readily found in your pantry. You can make numerous and assortment of eatables, if you are hankering for some cheese and following a dairy free and vegan diet. This is wholesome to eat and easy to make.

    ***psst!***Don’t forget the free download for fridge magnets to get inspired and inspire others.

    Ingredients

    Directions

    1. In an IP, add 1 cup water and steam your veggies and nuts for 10 mins at high pressure, in a steaming basket.
    2. After 10 mins of natural release, Open the IP very carefully, by pressing the valve.
    3. In a blender, add your boiled veggies and nuts, along with the seasonings.
    4. At this point add the veggie stock cube, and nutritional yeast.
    5. Blend until everything comes together ,fully mashed, and creamy.

    That’s it ! The ultimate no cheese-cheese sauce is up for some game.

    There’s lots you can do with this sauce.

    • A dip
    • A spread
    • In mac and cheese and many more.

    This is easy and quick to make.This is one of my home made comfort food to go, stashed away in the freezer for a week but finished before I know it!

    Nutritional Facts

    The information here is just an estimate and derived from an online nutritional analyzer or calculators. it is only for courtesy and convenience. Not to be considered as an alternative to professional’s advice.

    • This recipe makes approx. 7-8 servings.
    • This cheese is packed with veggie and nut power.
    • The nutritional yeast aka nooch , is an inactive yeast used in cooking to give umami flavour and its low sodium and low calorific nature makes it a very decent ingredients for vegan, dairy free, gluten free diets.
    • Nooch when fortified is rich in vit B12, vit B6 etc.
    • The chickpeas and nuts are protein rich ingredients.
    • The pumpkin seeds are fiber rich.
    • Celery and carrots rich in vit K(blood clotting and bone strength) and beta carotene(improve immune system and assist good vision) respectively.
    • Thus, a homemade cheese sauce is the best nutritious, most delicious, nonetheless easy to make.

    !!CONTAINS NUTS!!

    For Graphic Food Lovers

    Free pdf Download Below

    Download the free printable (PDF)

  • Tofu Sisig

    Tofu Sisig

    Intro

    Tofu is very common for a plant-based protein for vegan, vegetarian diets. Usually tofu is made with coagulated soy milk and forming into a white solid block. Working with tofu is not very complex. It comes in soft, medium and extra firm textures. Our recipe calls for the most commonly and widely found firm tofu.

    You may wonder what sisig is really all about. Sisig is one of the traditional dishes in the Philippines. There are several variation to this recipe, including soya curls.This recipe has all of the goodness you can find in a regular stir fry but with protein and right amounts of fats. This is spiffing sisig. This might become your favourite to go salad or meal. Don’t forget to download the free illustration for your kitchen magnet.

    Let’s get into the quick, easy and delectable recipe without any further ado,

    Ingredients

    Method

    For Fried Tofu

    1. On a baking tray drizzled with oil, place the tofu cut into cubes, preferably medium sized. You could marinade the tofu with, corn starch, soy sauce, pepper, nutritional yeast, and a pinch of salt.
    2. Air fry or bake them at 400ºF for 10 – 15 mins or until crispy.

    For Spiffing Sisig

    1. In a wok, fry minced garlic in a tbsp oil , and saute the onions until transparent.
    2. Add mushrooms while the onions are sauteing and let them brown.
    3. Stir in your fav veggies and fried tofu, season well and add mayo at last and fry until the oil separates.
    4. Finally add this to your rice and enjoy.
    5. You could top it with peanuts or cashews and make it as salad.

    You can skip the bird eye chilli and stir in 1 tbsp chilli powder and adjust to taste.

    There’s no mention of salt because soy sauce and mayo have a lot of salt but you can adjust at the end by stirring in salt just before turning off the heat.

    Nutritional Facts

    The information here is just an estimate and derived from an online nutritional analyzer or calculators. it is only for courtesy and convenience. Not to be considered as an alternative to professional’s advice.

    • According to the NIH nutrient journal, the effects of soy foods, especially tofu is huge in lowering blood cholesterol levels and lower the risk of heart disease.
    • Firm tofu is rich in protein, low in calories and meets all the essentials amino acids requirements your body needs according to the USDA.
    • Tofu included in your diet can reduce the chances of developing prostate cancer in men by 29% , according to the NIH study in 2018.
    • You can get inspired with this recipe for making delicious tofu as your meat alternative or to try out new cuisine.
    • Please do try and let me know in the comments.

    My recipes were analyzed @VeryWellFit.

    For Graphic Food Lovers

    Free pdf Download Below

    Download the free printable (PDF)

  • Suit the fruit

    Suit the fruit

    Intro

    A smoothie is an art of blending. The elements in it are up for modification. So, here is the best smoothie recipe for those tired of eating them. Make, memorize and MELT in the goodness of fruits.

    Select Fruit

    • Fresh fruit are abundant these days, without any seasonal preferences. They can be pretty dear to your money bag.
    • Frozen fruit are fancy , come in all preserved, packed and peaked with freshness and nutrients. They can be a give away during certain times of the year, and stored in the freezer for a great deal.

    Ingredients

    Directions

    1. Start by adding almond milk to the blender.
    2. Add the fruit
    3. Blend together
    4. Pour and sip away.

    Nutritional Facts

    The information here is just an estimate and derived from an online nutritional analyzer or calculators. it is only for courtesy and convenience. Not to be considered as an alternative to professional’s advice.

    • The nutrients in a plant based diet are abundant.
    • Vitamin C and Antioxidants are majorly found in the berries, and they pretty much can reduce the risk of heart diseases.
    • More than just being a delicious tropical fruit, these mangoes are rich in fiber and antioxidants, which support heart health.
    • Watermelons are the most refreshing, hydrating, and sweet summer fruit if you can pick the right one. They are dense with nutrients and minerals which might aid in lowering the risk of heart diseases.

    My recipes were analyzed @VeryWellFit.

    For Graphic Food Lovers

    FREE PRINTABLE pdf BELOW

    Download the free printable (PDF)

  • Chocolate on the double cookies

    Chocolate on the double cookies

    Intro

    This is the first ever recipe that I experimented at home while trying to change my lifestyle.The store bought cookies were delicious and have their own ratings. The cookies made at home were on another level. The satisfaction of knowing the ingredients I used was a bliss.These cookies took me to another comfort zone and I was always up for another grab. They are healthy, gluten free, vegan, nutritious, easy to make and HEY they are GUILT-FREE!!!

    psst! Don’t forget the free download!

    Ingredients

    Directions

    1. Mix together the components with a spatula.
    2. Scoop the dough on to the cookie tray.

    1. Pre-heat

    2. Conventional Oven – bake them at 350°F for 12-15 mins

    3. Air Fryer – bake them at 360° for 10-12 mins

    4. Keep an eye on your cookies.

    5. In the air fryer flip them over at 10 mins and continue baking.

    Nutritional Facts

    The information here is just an estimate and derived from an online nutritional analyzer or calculators. it is only for courtesy and convenience. Not to be considered as an alternative to professional’s advice.

    • Homemade food is beneficial for most of us, whether we are following a certain lifestyle or not.
    • Homemade recipes are easy to make, affordable and efficient.
    • You can always personalize your recipes by playing with the ingredients.
    • You would unquestionably know what you put into the recipe.
    • Most of the ingredients are super easy to make from scratch or found in the pantry.
    • The nutrients in this recipe are abundant and would undeniably satisfy your sweet tooth guilt free.

    My recipes were analyzed @VeryWellFit.

    !! CONTAIN NUTS !!

    For Graphic Food Lovers

    FREE PDF Download BELOW

    Download the free printable (PDF)