Category: Gluten Free

  • Chickpea Salad Delight

    Chickpea Salad Delight

    Intro to the Chickpea salad delight

    intro to chickpea salad

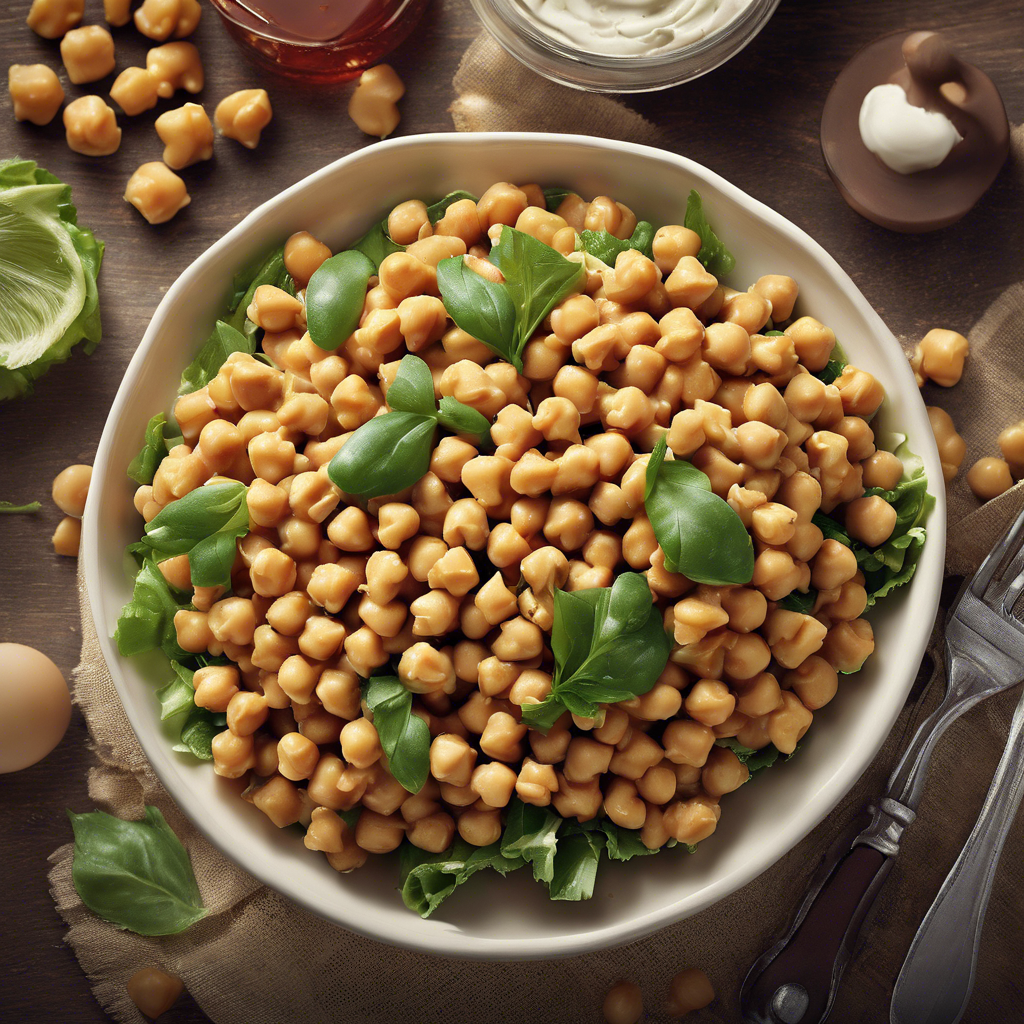
    Are you ready to become the potluck hero with a dish that everyone will love? Look no further than this Chickpea Salad Delight recipe that not only satisfies even the pickiest eaters but also caters to a large group of 15! Whether you’re a seasoned chef or a novice in the kitchen, this easy homemade food delight is bound to become one of your favorites made easy – a fun and quick solution for any gathering.

    **psst!**Don’t forget the free download for quick inspiration and to inspire others with your twists.

    Ingredients

    ingredients

    • For the Dressing: 1/3 cup of olive oil 2 tablespoons of lemon juice 1 teaspoon of Dijon mustard 1 clove of garlic (minced) Salt and pepper to taste

    Prep and Mix

    • Prepare the Chickpeas: Rinse and drain the canned chickpeas.Pat them dry with a paper towel to remove excess moisture.
    • Chop the Vegetables: Dice the bell peppers, cucumber, red onion, cherry tomatoes, and parsley. Place them in a large mixing bowl.
    • Make the Dressing: In a separate bowl, whisk together the olive oil, lemon juice, Dijon mustard, minced garlic, salt, and pepper.
    • Combine and Toss: Add the chickpeas to the bowl of chopped vegetables. Pour the dressing over the salad and toss gently to coat all the ingredients.
    • Add the Finishing Touches: Crumble feta cheese over the salad for an extra burst of flavor. Give it a final toss to incorporate the cheese evenly.
    • Chill and Serve: Cover the bowl and let the salad chill in the refrigerator for at least 30 minutes. Serve chilled and watch it disappear in no time!

    Nutritional Facts

    The information here is just an estimate derived from an online nutritional analyzer or calculator. It is only for courtesy and convenience. Not to be considered as an alternative to professional advice.

    nutritional facts

    The nutritional facts for the Chickpea Salad Delight indicate it’s a healthy and fulfilling choice for several reasons:

    • Low in Calories: At 127 calories per serving, it’s a moderate-calorie option suitable for various dietary needs.
    • Healthy Fats: With 3.2g of total fat and 1.2g of saturated fat, it provides essential fats for energy and satiety without excessive saturated fats, which can contribute to heart disease if consumed in large amounts.
    • Moderate Sodium: With 86mg of sodium per serving, it’s relatively low in salt, important for maintaining healthy blood pressure levels.
    • High in Fiber: Each serving contains 5.3g of dietary fiber, contributing to digestive health, reducing cholesterol levels, and promoting feelings of fullness.
    • Good Source of Protein: With 6.6g of protein, it’s a satisfying option that supports muscle repair and growth.
    • Micronutrients: It provides essential vitamins and minerals such as calcium (6% DV), iron (12% DV), and potassium (7% DV). These nutrients are crucial for bone health, oxygen transport, and maintaining electrolyte balance.
    • Low in Added Sugars: It contains 4.6g of total sugars, which are naturally occurring from ingredients like chickpeas, making it a healthier choice compared to dishes with added sugars.

    This combination of nutrients makes Chickpea Salad Delight a nutritious option that can contribute to a balanced diet, providing energy, supporting digestion, and supplying essential vitamins and minerals for overall health and well-being.

    Why You’ll Love It:

    • Ease of Preparation: With simple ingredients and quick assembly, this recipe is perfect for when you’re short on time but still want to impress.
    • Versatile and Colorful: The vibrant mix of colors will make your dish stand out on the potluck table, appealing to both kids and adults.
    • Healthy and Satisfying: Packed with protein and nutrients, this Chickpea Salad is a guilt-free indulgence that keeps you feeling full and energized.

    So, the next time you’re looking for a crowd-pleaser that’s as enjoyable to make as it is to eat, give this Chickpea Salad Delight recipe a try. You’ll soon find yourself reaching for this fun and quick dish for all your gatherings!

    Now, go ahead and be the star of the potluck with this easy homemade food favorite made easy – you won’t regret it!

    For The Graphic Food Lovers

    complete recipe infographic

    Free Printable pdf Download Below

    Download the free printable (PDF)

  • Cake Not Ache

    Cake Not Ache

    Intro to cake not ache

    intro to the recipe

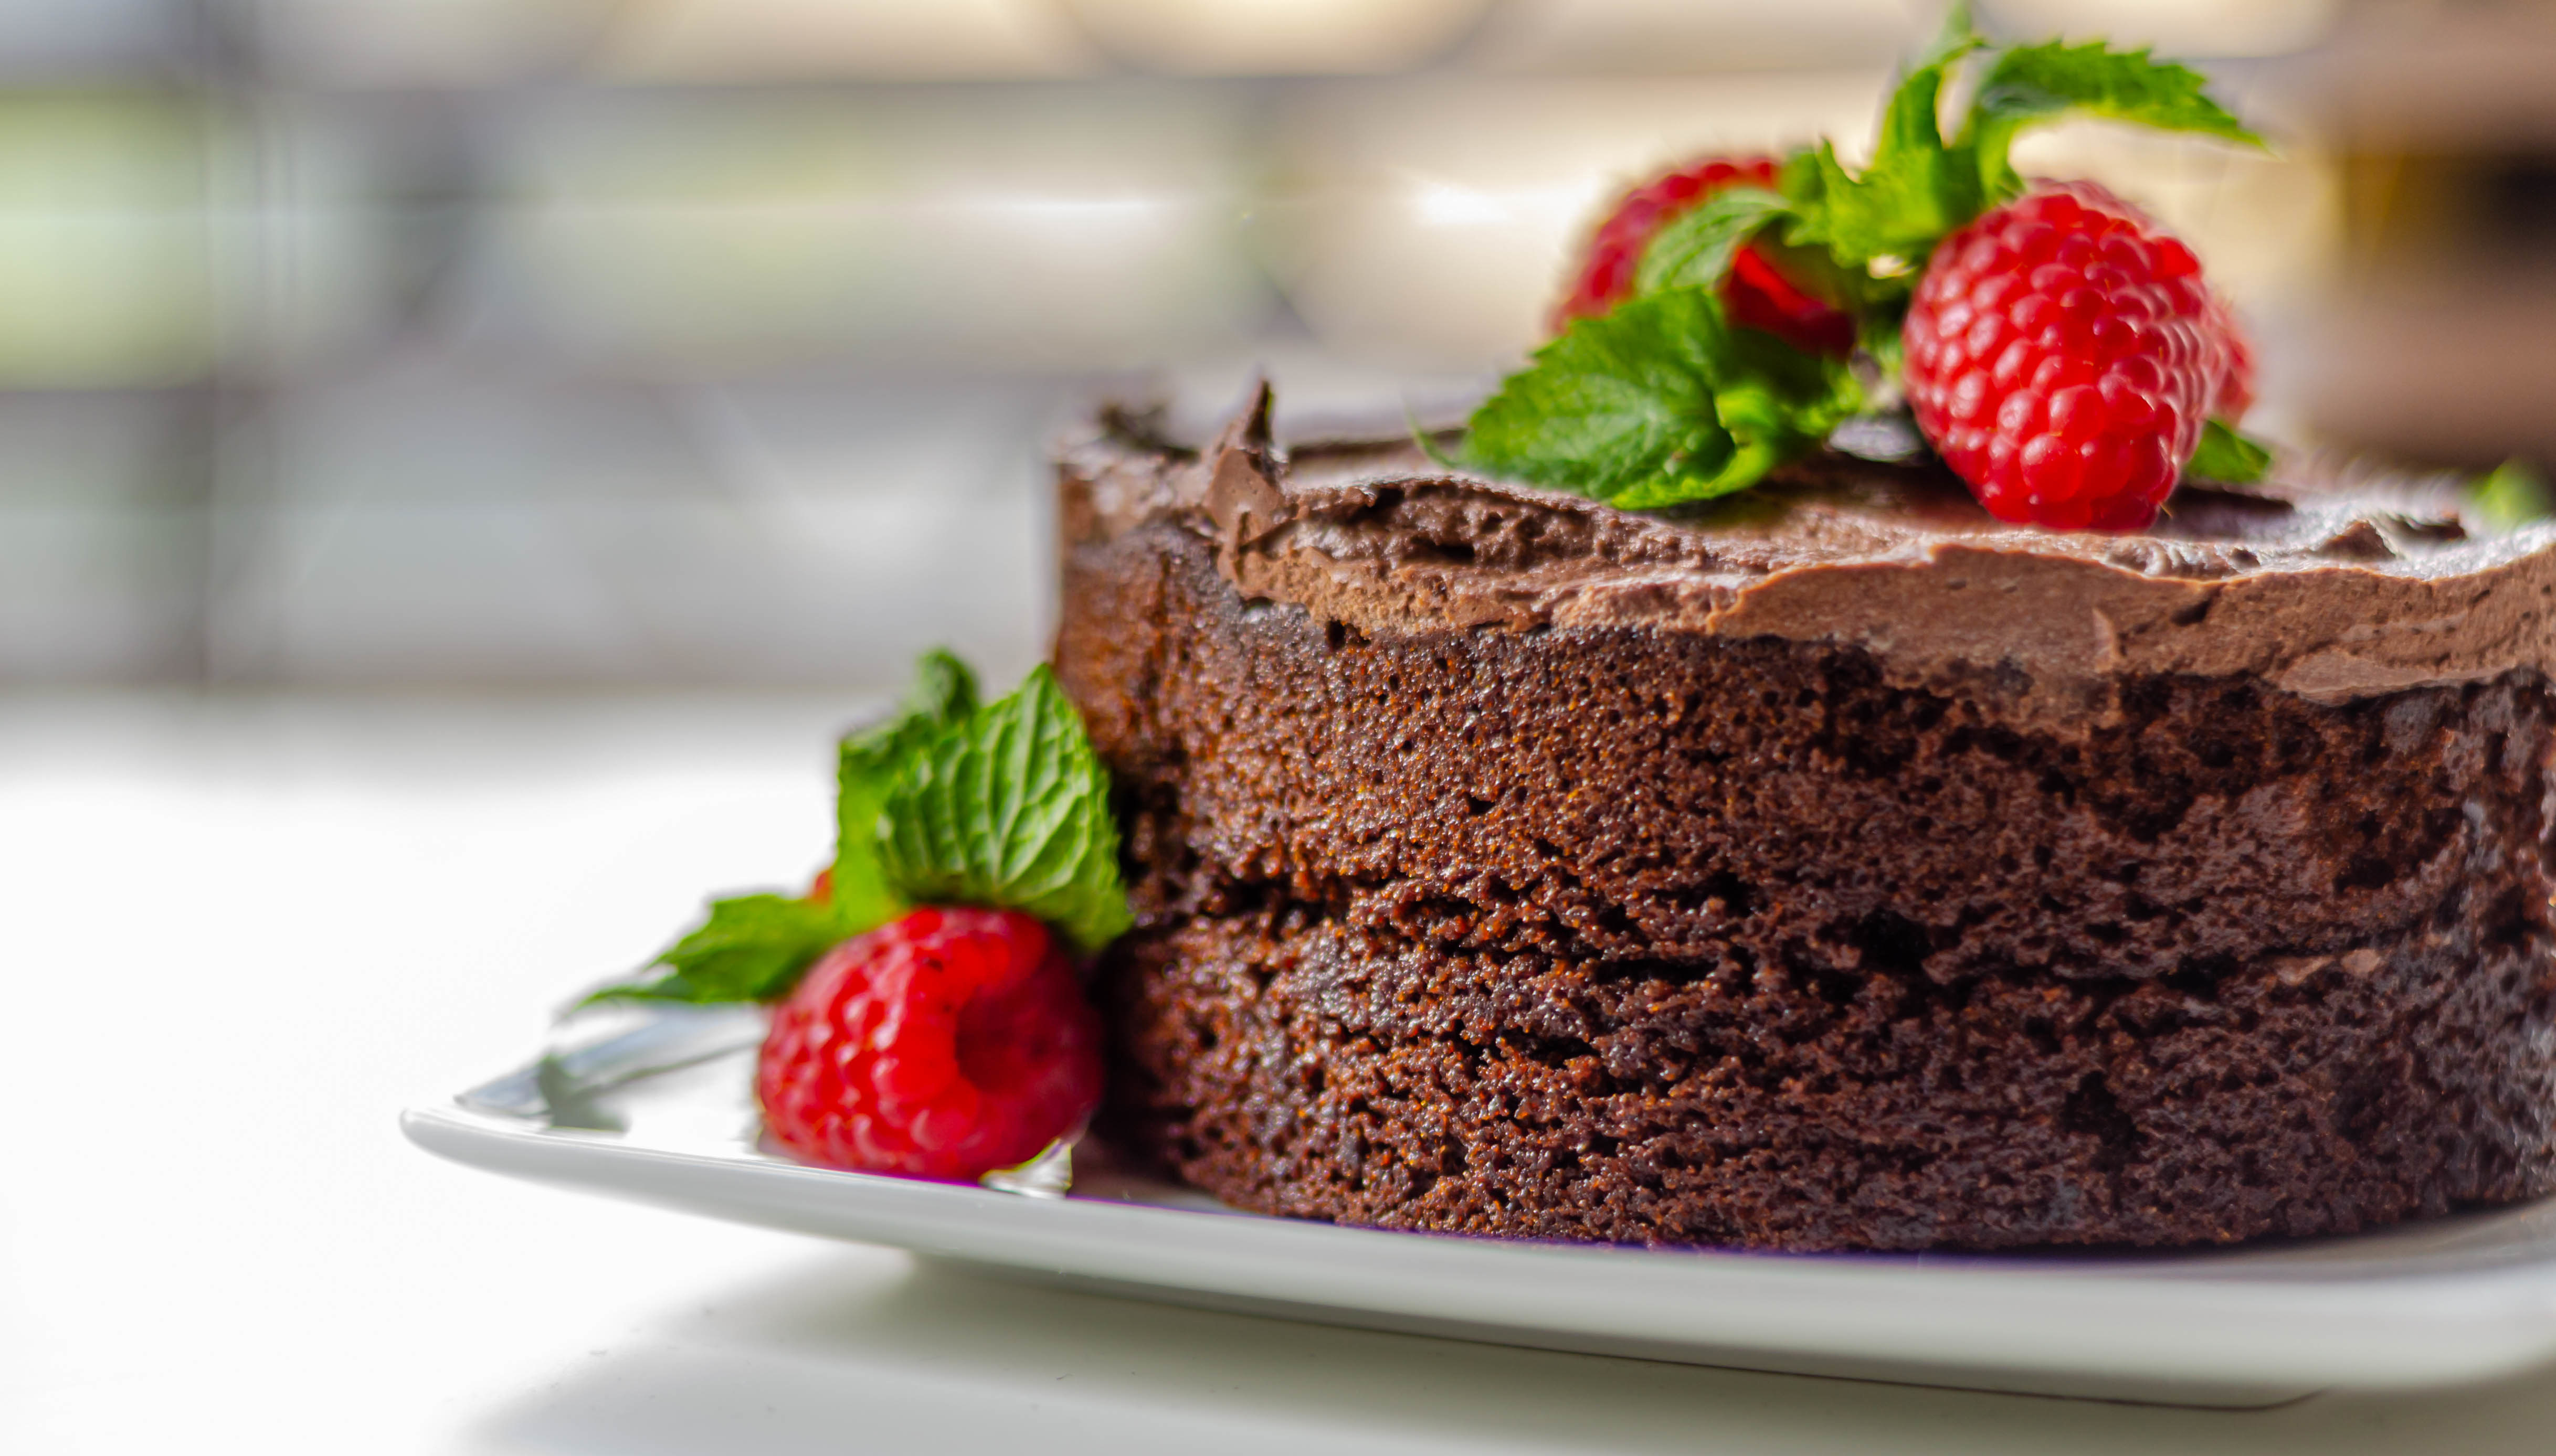
    Have you ever had a chocolate cake but felt guilty for having lots of processed sugars and oils? Did you always think the cake has to be enjoyed only on certain days just because it’s too good to be true to have it always? The recipe I’m about to illustrate today is a chocolate cake with no processed sugars, oils, eggs, or heavy fats. Once you taste it you will come back for more without any sugar guilt. After a lot of research, a lot of learning, and a lot of baking, I am confident to bring forth the decant, rich chocolate cake with vegan frosting, prepped and baked in under an hour.

    Get ready to bake up a storm with this allergy-friendly chocolate cake recipe! It’s so easy, even a cat could do it (if they had opposable thumbs, that is). With just 3 simple steps, you’ll be on your way to chocolatey goodness in no time with a cake not ache – just pure deliciousness!

    Are you ready to be blown away by the recipe? Then, let’s get into it without any delay. psst! Don’t forget the free download for quick inspiration and to inspire others with your twists.

    Ingredients for the cake

    ingredients for the recipe

    Prep and Mix the cake batter

    • Mix together coarsely ground rolled oats, almond flour, cocoa powder baking soda and baking powder, without any lumps.
    • Add the plant based milk to a blender along with 1/4 cup pitted dates and make a mixture.
    • Add vanilla with a pinch of salt and mix together wet and dry ingredients.

    Pour and Bake the cake

    • Preheat the oven.
    • Pour the batter into (either greased or lay a parchment paper) mini cake pans (preferably mini bundt pans).
    • Bake at 350°F for 35 minutes.

    Frost the cake and Enjoy

    • To make the cashew frosting, add the soaked cashews along with pitted dates, vanilla and a squeeze of lime to the blender and make a smooth paste and refrigerate it.
    • Once the cakes are completely cool, frost with the cashew cream, and top it with your favourite fruits and nuts to amp it up.

    Nutritional Facts

    The information here is just an estimate derived from an online nutritional analyzer or calculator. It is only for courtesy and convenience. Not to be considered as an alternative to professional advice.

    nutritional facts

    • Serves about 2. But can be a personal cake as well😉.
    • No aches after you eat this cake.
    • Studies have shown that dates however high in calories and natural sugars don’t show any significant effect on blood sugar levels even in diabetic people.
    • Only natural sugars make this cake sweet.
    • Completely cholesterol free.
    • You can use cacao powder, which is meant to be a less processed form of cocoa.
    • This is completely gluten-free and plant-based.
    • If you want a nut-free option, use dairy-free coconut cream mixed with dates paste, and would still taste the same.
    • Rolled oats are a staple breakfast nowadays, making it more accessible in general. Oats are packed with fiber and their stickiness makes them a good alternative to gluten-based foods. Oats are considered to be the most nutrient-dense food.
    • No oils, highly processed plant seed oil, or animal fat is being used. It is magically decadent and melting to have a cake without any trip guilt.

    For The Graphic Food Lovers

    full recipe infographic

    Free Printable pdf Download Below

    Download the free printable (PDF)

  • Healthy Vegan Protein Scoop at Home

    Healthy Vegan Protein Scoop at Home

    Intro

    If you are a vegan, or looking for that protein powder with nutrients and plant dense benefits, then, you’ve come to the right place. This is a homemade recipe which can be easily stored. Can you believe that it is a complete plant based recipe without any empty calories? This can be modified or adjusted to your liking as well. It can be used in so many drink recipes without altering in taste or flavour of your homemade drinks. Only 3 easy and quick steps are used for this recipe (Dry roast, Pulse and Scoop).

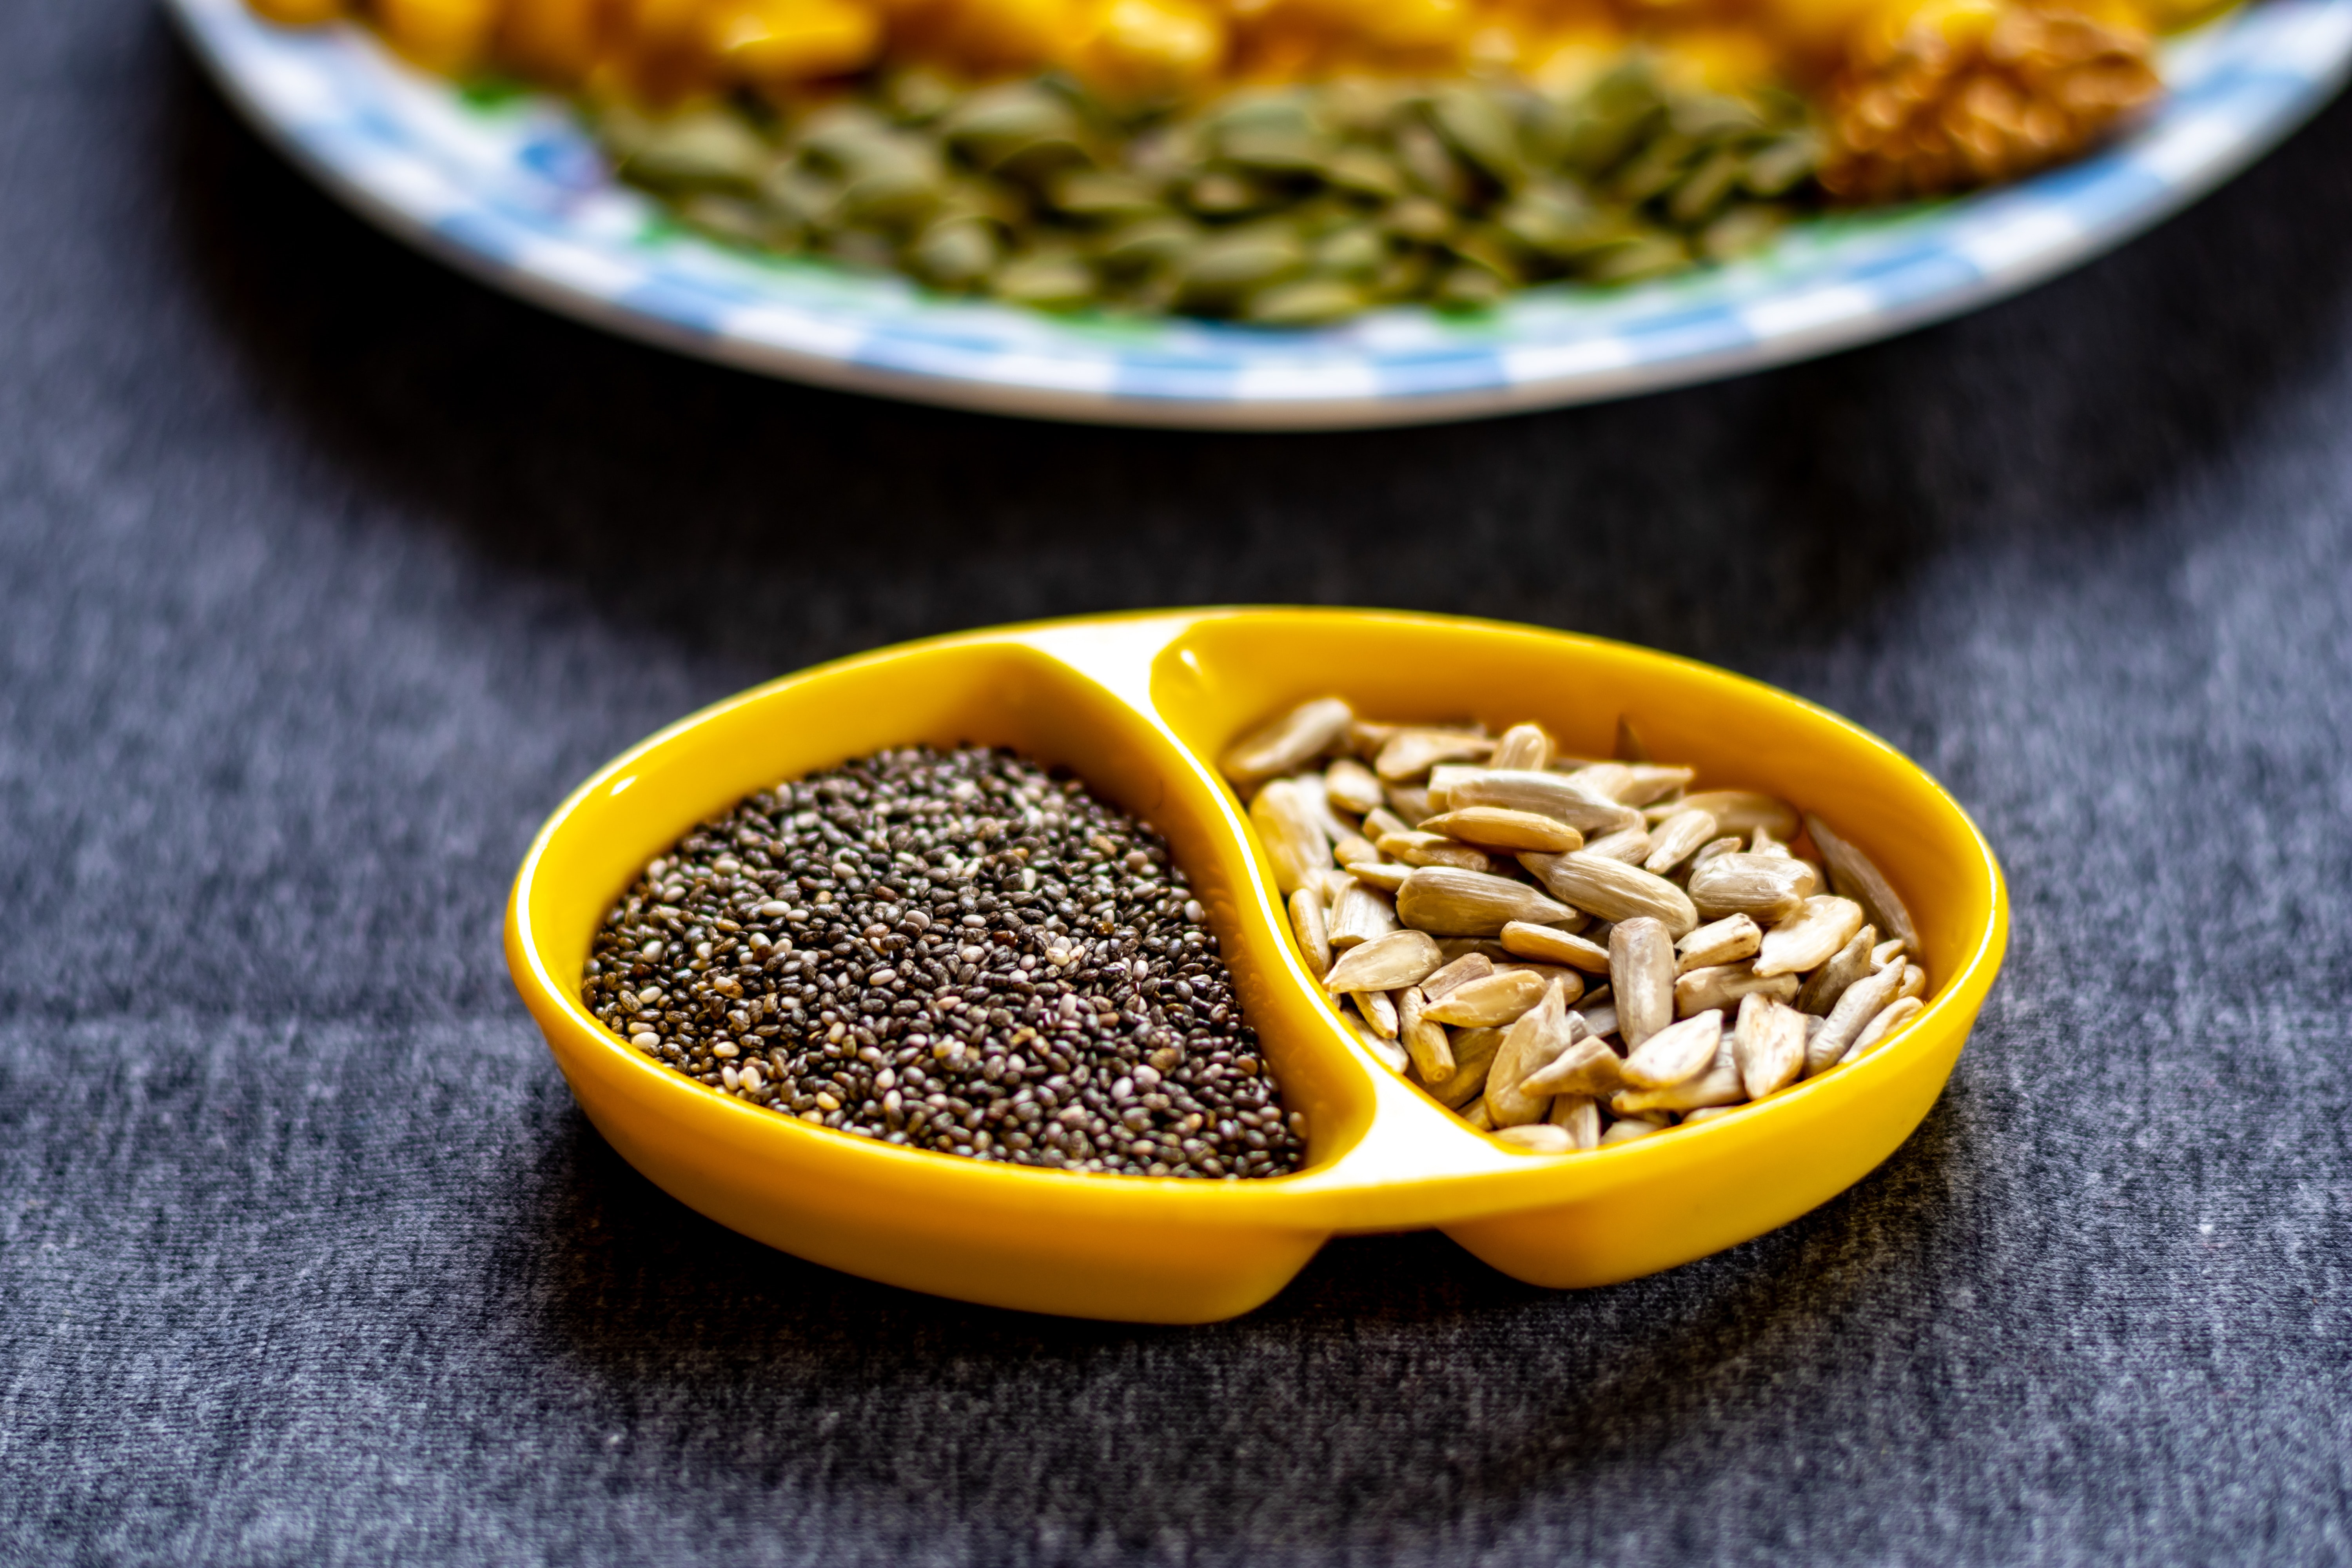
    I mostly used nuts, seeds and only one kind of dry fruit for sweetness, therefore It has no added sugars. It might be used for your pre or post workout sessions, or energy drink after a stressful day, or added to your lattes and chai for nutrient rich kick. It can be added to your smoothies, smoothie bowls, granola and cereal for extra richness and goodness. The ingredients used are available at home, mostly part of our vegan, vegetarian diets. This recipe is good for all the gluten free, dairy free, vegan, vegetarians, as well as non vegetarians to try.

    ***psst!***Don’t forget the free download for quick inspiration or to inspire others with favourite add ins.

    Equipment

    All you will need are

    • A nice cast iron pan, or some kind of pan which won’t heat up the ingredients quickly.
    • A spatula.
    • A blender preferably with a pulse mode. (If the mixture is blended without control, it will release natural oils and make butter.)

    Ingredients

    Directions

    Dry roast, Pulse and Scoop
    1. Dry roast the nuts and seeds in a cast iron pan in orderly fashion ON LOW TO MEDIUM FLAME, without chia seeds and dry dates.
    2. Once they are aromatic, turn off the flame.
    3. Cool them completely.
    4. PULSE the roasted nuts and seeds along with chia seeds and dry dates, avoid any chances of releasing natural oils present in the seeds and nuts.
    5. Once a fine powder is formed, it is ready to be scooped into your favourite recipes.

    Nutritional Value

    The information here is just an estimate and derived from an online nutritional analyzer or calculators. It is only for courtesy and convenience. Not to be considered as an alternative to professional’s advice.

    • This recipe makes about 50 tbsp. Approx. 3 cups and a couple of tbsp.
    • The calories are amazing less for a table of serving.
    • It is packed with protein and makes it for a good start of the day.
    • The nuts and seeds mixed together makes it a better combination rather than having only one or two types of nuts.
    • Dry dates are used in this recipe to add natural sweetness to the mix, so while adding to your favourite homemade drinks, you can avoid other processed sweeteners.
    • The recipe has ingredients good in monounsaturated fats, the good kind of fat like almonds, cashews, pecans, walnuts and omega 3 fatty acids present in flax seeds, chia seeds sunflower seeds which is essential mostly for individuals following vegan or plant based diet.
    • It is rich in Vitamin B complex, which is another vitamin largely found in nuts like almonds, walnuts and pistachios. B complex vitamin is an important vitamin essential for body’s immune health and aid in promoting cell growth, improving eyesight among many other things.
    • This recipe can be a stand alone protein drink or just an amazing add ins to your favourite homemade drinks. Stay tuned for more extraordinary recipes using this protein mix.

    My recipe analyzed@VeryWellFit.

    !!!CONTAINS NUTS!!!

    For the Graphic Food Lovers

    Free pdf Download Below

    Download the free printable (PDF)

  • Vegan Hidden Veggies Pasta

    Vegan Hidden Veggies Pasta

    Intro

    Have you ever heard of picky eaters having a wholesome meal? No? Well, this recipe might give you a big nod to say yes to veggies. It smells cheesy, it tastes flavourful, no fancy ingredients required and best of all it is homemade pasta.

    Choose your Pasta

    Your pasta can be freshly made, dried, or gluten free variety. Pasta can be your home’ favourite variety. Pasta is best eaten al dente, which means to the tooth. It should have the tenderness to chew but you should still be able to bite it. Cooking times depends on the pasta you choose. Covering pasta pot might help cook pasta fast enough.

    This recipe needs no baking. Everything goes in one pot, you can use the same pot in which you boil the pasta. Not much preparation required as well. You can sub canned tomatoes to the fresh ones. You can skip sugar if you use roma tomato variety. This recipe is homemade, and uses the signature cheese sauce with lots of vegetables and nuts. It is a plus point for vegans, vegetarian from which they benefit a lot from. This recipe is wholesome, packed with vegetable goodness but hidden.

    psst! Don’t forget to download the free recipe card below, it is very well illustrated for a quick and easy inspiration, to make your homemade recipes as your favourite ones.

    Ingredients

    Directions

    One pot pasta Boil
    • On a high heat, boil water in a pot.
    • Once the water starts rolling boiling, add salt and pasta.
    • Boil it for 7-10 mins, or until the pasta is al dente.
    • Turn off the heat and drain the pasta.
    One pot pasta sauce
    • In the same pot, add chopped spinach, chopped tomato and sugar.
    • Mash them and bring together the vegetables.
    • Add the signature cheese sauce, basil and oregano, chilli flakes and salt to taste.
    • Once everything combines well, stir in pasta and mix well.

    Enjoy this pasta with a very good glass of smoothie for wholesome meal.

    Nutritional Value

    The information here is just an estimate and derived from an online nutritional analyzer or calculators. It is only for courtesy and convenience. Not to be considered as an alternative to professional’s advice.

    • This makes about 1 – 2 servings.
    • Pasta is carb rich but the special vegetables and meat you add makes it a wholesome meal.
    • The cheese sauce used is gluten free and dairy free and it makes a plant based cheese.
    • No oil needed, and makes it cholesterol free.
    • This recipe has protein, enough fiber and other essential nutrients.
    • Spinach is very good for our health, and you can substitute it with other greens like broccoli rabe, baby spinach and baby kale.
    • You can make it ahead, refrigerate it and reheat as a part of meal prep.
    • This goes well with your favourite add ins like beyond meat if you would like the meaty pasta.
    • Don’t forget to check out the well illustrated recipe with graphics and easy steps you can follow.

    My recipes analyzed@VeryWellFit.

    For the Graphic Food Lovers

    Free pdf Download Below

    Download the free printable (PDF)

  • Vegan Nachos

    Vegan Nachos

    Intro

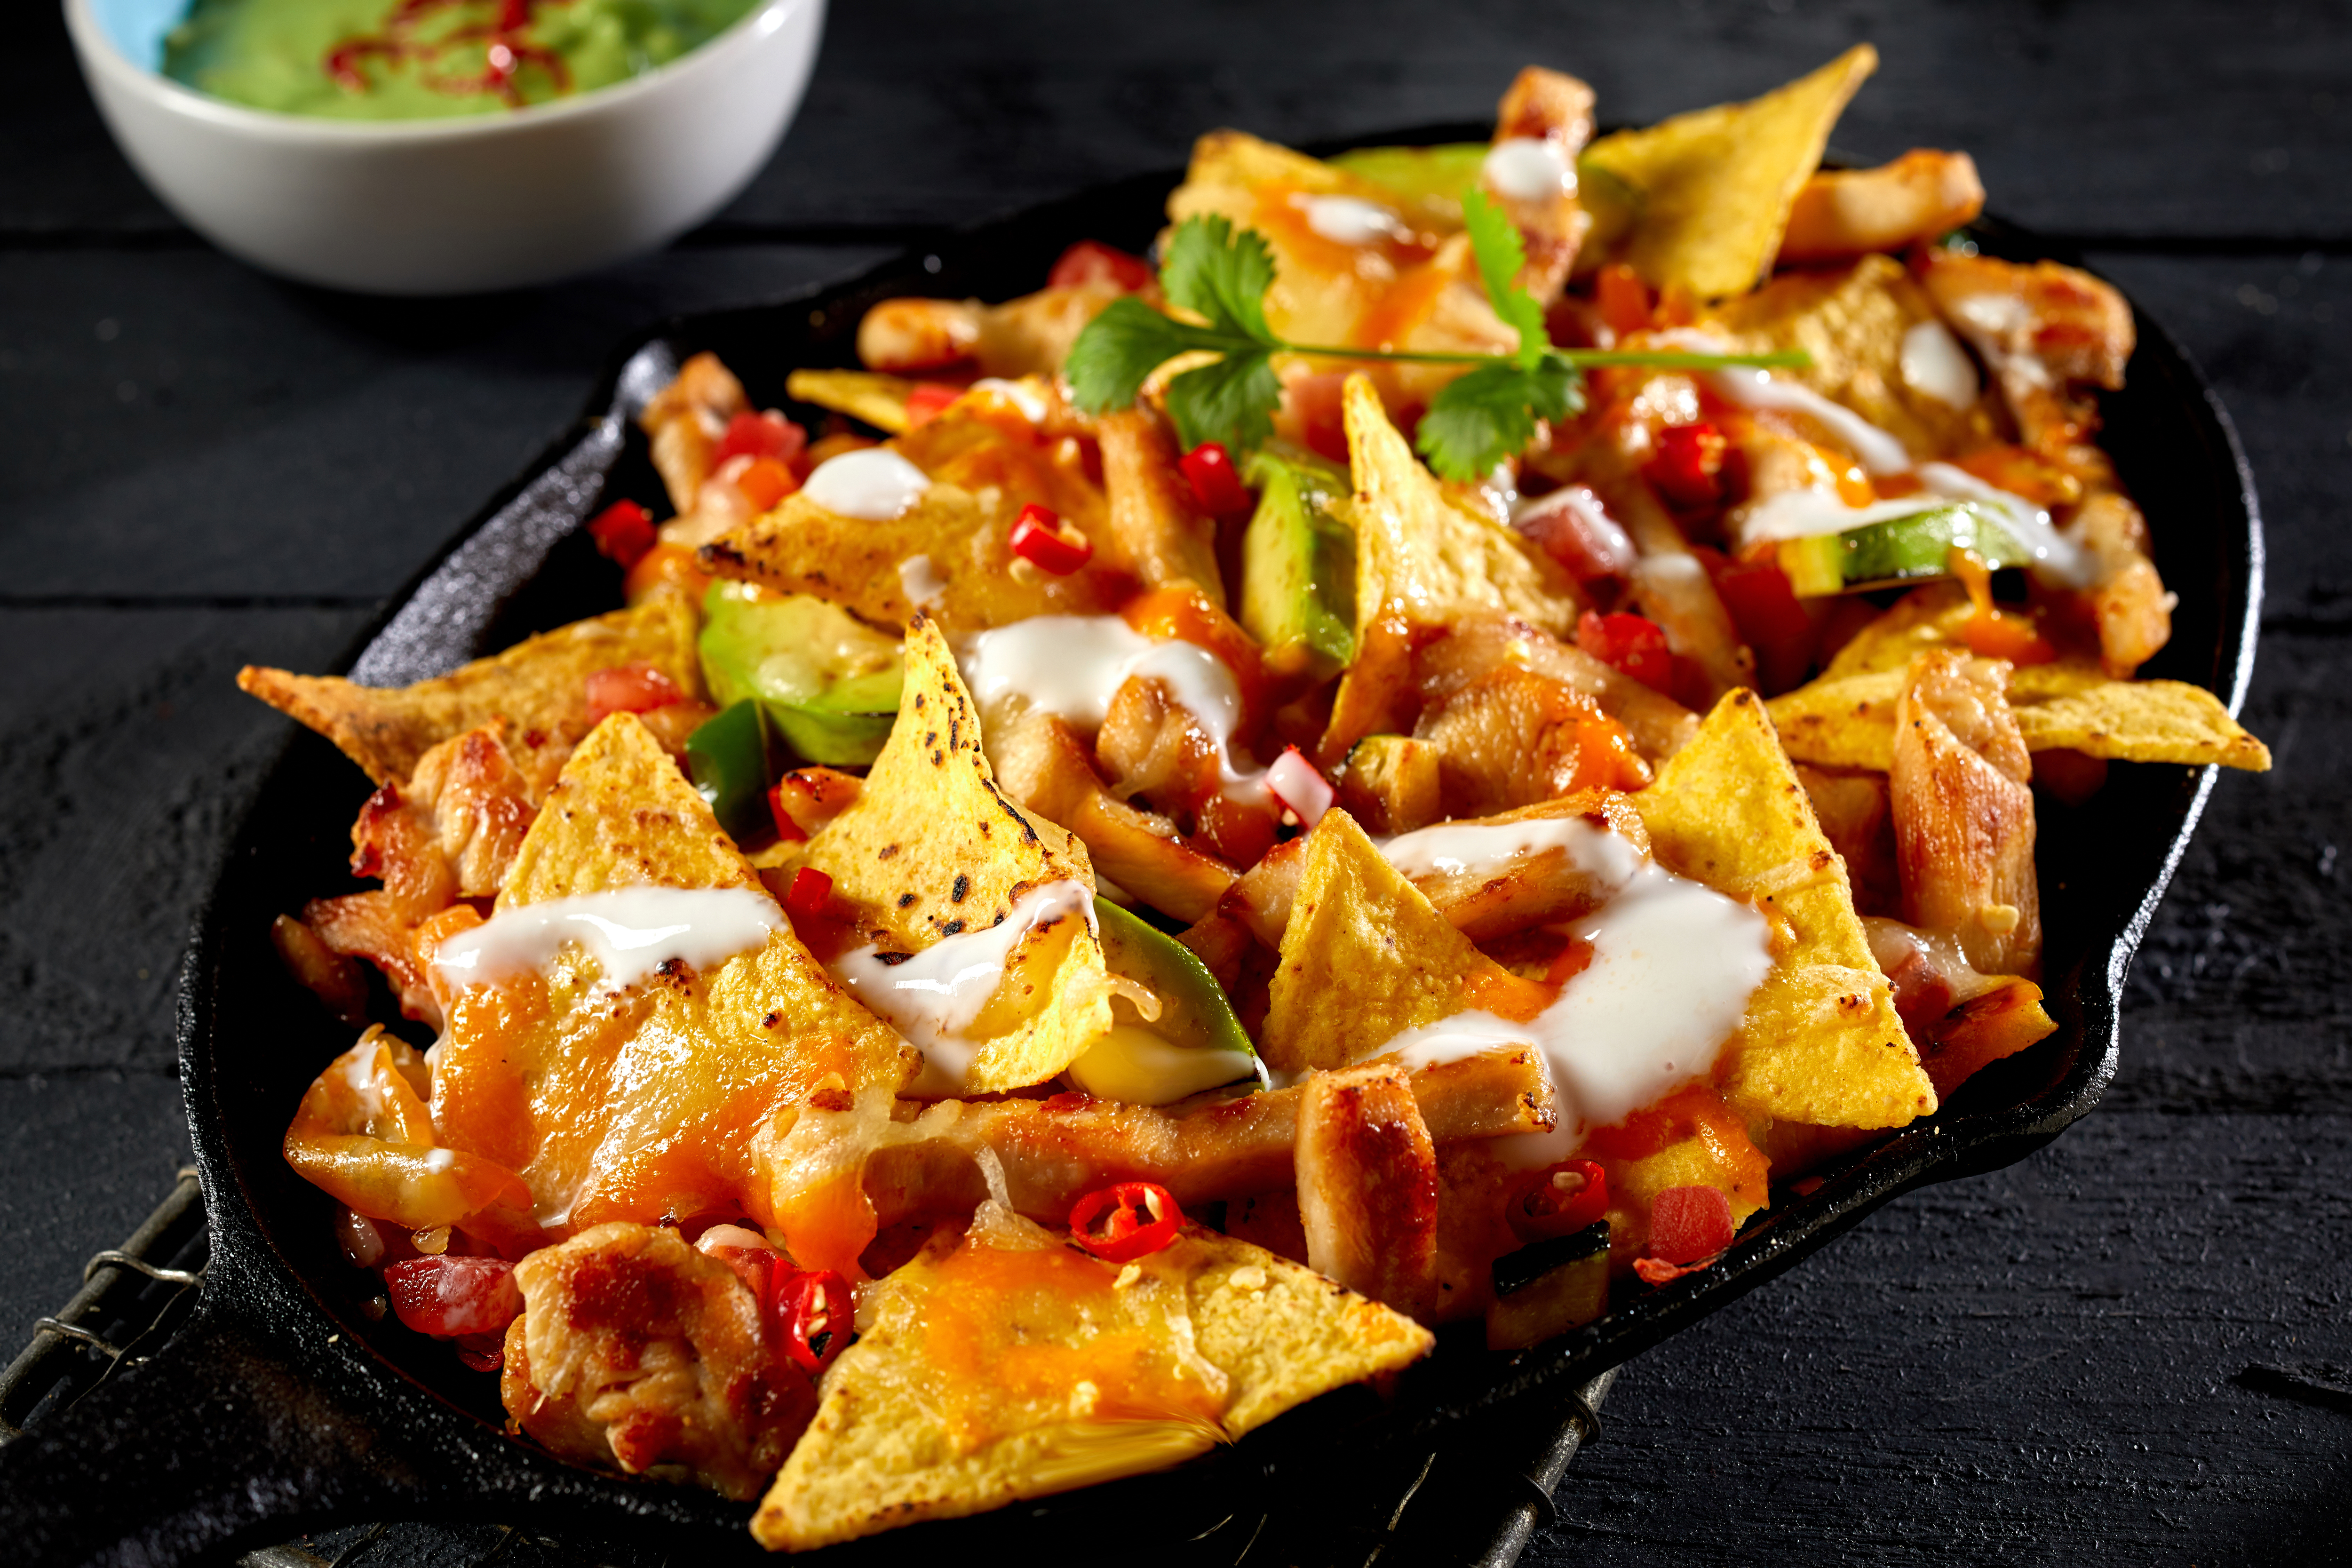
    Are you tired of having nachos with meat and nothing else but lettuce like a salad? Here is a recipe with ingredients so tasty and delicious that you might not regret having them with chips.

    I don’t remember the last time I had nachos in a restaurant, because once I knew homemade ones are easy and delicious to make, going back for them was a big NO. First of all, the price and and the quantity don’t match. It is not wholesome. Chips are considered to be bad for health, but what about the protein in it? Chicken or beef, beans or corn are very nominal, don’t necessarily make a meal. This recipe is about making your cheat days or normal days healthy and extra nutritious.

    Plant Based Protein

    For this recipe you could choose a variety of beans from red, black, pinto, pink, black eyed peas and garbanzo. They can either be canned or properly cooked homemade beans. Soya chunks or soya curls used are completely gluten free, and are made with soy bean flour. You can use my signature cheese sauce for this recipe instead of conventional or dairy cheese and still get the cheesy flavor, which is again an amazing recipe with protein infused in it.

    Let’s dive into the goodness of cheese and chips with this easy, quick and delicious homemade nachos recipe.

    psst! Don’t forget the free download for quick inspiration and to inspire others with your own twists to it.

    Ingredients

    Directions

    Prep and Seasoning
    1. Heat up a pan add about 1 tsp oil , and sizzle cumin seeds along with diced onions and ginger.
    2. Stir in about a quarter cup chopped tomato and boiled beans without water along with boiled soya chunks.
    3. Season well with salt, chili powder, and taco seasoning if you prefer.
    4. Once everything is combined, turn off the heat, add a dollop of signature cheese sauce, cilantro and a tablespoon of lime.
    Equipment and Temperature
    1. On a baking tray which fits the air fryer, layer tortilla chips, a deliberate amount of cheese sauce and the hot seasoned mix.
    2. After about two layers, you can drizzle hot sauce, sprinkle jalapeños, tomato and onions.
    3. At 330º, in the pre heated air fryer pop the layered chips and air fry for 7 mins.
    4. If using an oven, broil the layered chips for 5 mins.
    Done and Dip ready
    • Once done, you can drizzle some dairy free sour cream, dip it in the signature Mayo-n-Gauc or homemade salsa.
    • Enjoy with fresh lime and mint agua fresca.

    Nutrition Facts

    The information here is just an estimate and derived from an online nutritional analyzer or calculators. It is only for courtesy and convenience. Not to be considered as an alternative to professional’s advice.

    • Serves about 2-3 people.
    • This is delicious and amazingly filled with nutrients.
    • If you are new to beans or prefer meat to beans, this recipe might change your mind.
    • This recipe has enough calories, and zero in cholesterol if you can cook the mix without oil.
    • No fancy equipments required. An oven can do as well as an air fryer.
    • Protein is present in both beans and soya chunks, are considered great add ins to a basic food recipe.
    • The cheese sauce used makes a great substitute as well as nutritious dairy free cheesy love to savour with your chips.
    • You could try making your own baked tortilla chips following easy simple steps like baking corn tortillas.

    My recipes analyzed@VeryWellFit.

    For the Graphic Food Lovers

    Free pdf Download Below

    Download the free printable (PDF)

  • Friendly KimBap

    Friendly KimBap

    Intro

    Hope you are not moving on from the latest and the most celebrated K drama Extraordinary Attorney Woo, because I have something really special from it. As we all know, K drama is about love, drama, action, suspense, thrill, and food. This series has lot of drama, and the fair dealings the characters have with each other is top notch. The drama is about the character who is on spectrum and the odds she faces with the world, yet proving to be Extraordinary in her own way.

    The depiction of food like any other Kdrama went beyond the viewers excitement, because the easy, delicious, homemade recipe got famous in the world of internet. It is the one that Dong Geu Rami, Extraordinary Attorney Woo’s best friend, in episode 8, makes breakfast for two with a quick, easy and undeniably delicious looking and yummy tasting KimBap.

    The fried egg along with caramelized kimchi for a kimbap is Attorney approved. Let’s get into this recipe to dwell in the present with this quick, easy, delicious, and homemade KimBap.

    psst! Don’t forget the free download, very well illustrated for a quick and easy inspiration.

    Ingredients

    Directions

    Frying the Egg and Kimchi

    1. Grease a pan with about 1/2 tbsp sesame oil.
    2. Crack an egg and fry it easy over or crispy until done.
    3. Add your fav seasonings like soy sauce, chopped red chili, sriracha, or spring onions.
    4. In the same pan, sauté kimchi with a pinch of sugar until it is aromatically caramelized.

    Layout and Folding

    • Fold Sushi nori starting from bottom edge to form a rectangle and fold either from right or left to form a valley fold square.
    • Unfold the sheet and lay out the ingredients starting with a thin layer of rice on the bottom squares and an egg and caramelized kimchi on the top squares.
    • Once it is properly placed, cut the middle of the bottom part.
    • Fold and overlap the seaweed and ingredients, until a square is formed.
    • Finally cut the square into triangle and plate.
    • Don’t forget to check my graphically illustrated recipe.

    Nutrition Facts

    The information here is just an estimate and derived from an online nutritional analyzer or calculators. It is only for courtesy and convenience. Not to be considered as an alternative to professional’s advice.

    • Serves about 2-3 people.
    • Sea weed is super nutritive and considered to add extra nutrients and minerals.
    • Nori is a red algae, dried and sold in the form of sheets.
    • It is eaten as snack, or can be a part of the meal or can be taken as a supplement.
    • Nori has Vitamin B12 which is very vital for vegetarians.
    • Research has shown that it is important in blood sugar control, and may as well improve immune system.
    • Eggs used are very good in vitamin D and protein which make for a good protein rich breakfast.
    • Kimchi is a nutrient rich and contains probiotics which has benefits of improving gut health and immune system. Caramelizing kimchi brings out the nuttiness and makes a great side dish as well as a add ins like in this Kimbap or fried rice.
    • Overall, recipe is quick, easy and deliciously homemade, which can be your favorite as well.

    For the Graphic Food Lovers

    Free pdf Download Below

    Download the free printable (PDF)

  • Quick Fix Corn Toast

    Quick Fix Corn Toast

    Intro

    Are you ready for a quick fulfilling toast? This is an excellent toast, unlike any regular one, but first, what is regular toast? Nah, No toast is regular. It is all about the twists you can add to a toast and leave your taste buds tantalizing.

    The best thing that can happen to your bread is toppings, fillings and spread. There’s sweet and savory things to choose from. The bread can be toasted, fried, sandwiched and crumbled for crusts, hence letting in on its secret that there are amazingly substantial ways to a slice of bread.

    I always choose a nutritious bread from my pantry. Your bread can be whole meal, whole wheat, gluten free, multigrain, thin sliced or thick sliced, sourdough bread, rye bread, sprouted bread, a brioche, a baguette, a bagel, a white bread, a ciabatta and something else.

    This very well done in an airfryer or conventionally on stovetop. Minimal prep and dishes used to make this recipe. Let’s not wait any further and dive and dig into this easy, delicious and homemade recipe.

    ***psst!***Don’t forget the free download for quick inspiration or to for your fancy poster on your fridge.

    Ingredients

    Directions

    1. Spread my signature Mayo-n-Guac (mashed avocado) and Cheese sauce (place a slice of cheese) on the bread.
    2. Add about a couple of tablespoons of frozen or fresh corn and chopped spinach on the bread.
    3. In a preheated air fryer at 330ºF ,air fry the bread for 7-10 mins or until the cheese melts OROn medium heat, add a little oil to the pan, place the bread and cover it until the veggies are cooked thoroughly.
    4. Once done, turn off and plate the toast and season with chilli flakes for kick!!!

    Don’t you think it’s as easy as breeze!!!

    Nutritional Facts

    The information here is just an estimate and derived from an online nutritional analyzer or calculators. It is only for courtesy and convenience. Not to be considered as an alternative to professional’s advice.

    • This recipe serves a min of 2 people.
    • This recipe is cholesterol free.
    • This recipe is a complete plant based and dairy free if you have my signature cheese sauce along with Mayo-n-Guac.
    • Corn and spinach make a very delectable fusion of nutrients.
    • 1/2 a cup of raw spinach has heavenly benefits. It is rich in fiber which aids in digestive health.
    • It has overall health boosting benefits like improving eye health, prevent certain cancers and lower blood pressure.
    • Corn is keto friendly, low in carbs and calories. It has vitamins and minerals vital for our body.
    • If my signature cheese sauce has been used here, it undoubtedly has a lot of health benefits and ZERO cholesterol.
    • This recipe is quick, easy, and def delicious and homemade.

    For the Graphic Food Lovers

    Free pdf Download Below

    Download the free printable (PDF)

  • Garbanzo Quick Grub

    Garbanzo Quick Grub

    Intro

    Did you know that Biryani is a call for a celebration!! It is one of my favourite one pot recipe layered in flavours, cooked with lot of imperfections to make a perfect dish of celebration.

    Origin

    Biryani has been introduced to this world, well it is unsure. The mystery makes it even more enticing to have a delicious dish. It is the most popular dish prepared, served and eaten mostly in India, nevertheless the finest introduction to the world of cuisine. It is a rice dish mixed with meat, vegetables, or nuts along with spices. It is made with different spices in different parts of the India. There’s spicy ones and there’s flavourful ones. The debate is still on, non-vegetarians scrutinizing a vegetable biryani as a pulav, and won’t let us vegan or vegetarians enjoy a biryani in peace. LOL… 😁Nonetheless, here I am, appreciating the pioneers of biryani and spreading my love for it.

    Select Your Protein

    This recipe is gluten free, vegan, vegetarian, delicious and guess what, a homemade which can be your favourite. You can modify it with your choice of protein, like chicken, mutton, tofu, paneer, chickpeas, bean variety, and vegetables. It is a stand alone one pot meal or can be part of your meal preps. I made it with all the pantry supplies accessible to most of us these days. If you want to enjoy your journey of vegan, or want to become one, this can be a top notch recipe to start with. But First a BIG shout out to VAHCHEF for introducing this recipe to the world. Now, let’s be quick to fix this box.

    ***psst!***Don’t forget the free download for quick inspiration or for fancy fridge magnets.

    Ingredients

    The ingredients are for spice level 5 on scale of 10. It is assuredly up for some game if you are spice tolerant. Just eyeball if not sure!!!

    Equipment

    Directions

    1. Preheat the Airfryer at 400ºF.
    2. Marinade the chickpeas with all the ingredients except rice.
    3. Keep aside a quarter of the marination without chickpeas.

    Biryani Box

    1. Start by gently layering the 70-60 % cooked rice and marination in an oven safe steel container.
    2. Add the marinated chickpeas on top and extra fried onions.
    3. Place the Biryani box in the airfryer, set the temp to 360ºF for first 5 mins, later set it to 300ºF for 10 mins.
    4. Turn off the Air fryer and rest the Biryani box in the airfryer for 5 more min. Take it out carefully.
    5. The Biryani in a box is done and ready to be chowed down.
    Favourite Add ins
    • Mushrooms
    • Carrots
    • Potatoes
    • String beans
    • Corn
    • Baby corn
    • Boiled Egg
    Favourite accompaniments
    • Yogurt mixed with onions, chilli, lemon juice and cilantro with a dash of salt.
    • Yogurt mixed with cucumber and carrot shreds, with a squeeze of lime.
    • Yogurt mixed with tomatoes, cucumber with a dash of salt.

    Nutritional Value

    The information here is just an estimate and derived from an online nutritional analyzer or calculators. It is only for courtesy and convenience. Not to be considered as an alternative to professional’s advice.

    • This is a quick fix for a minimum of 2 people.
    • Firstly, Biryani is an emotion. It makes a satisfying meal.
    • Owing to the type of meat, it varies in the nutrients it offers, and never holds back on flavours.
    • Chickpeas biryani is rich in fiber and protein, which makes you feel full and satiated and reduce calorie intake.
    • They not only help in digestion due its fiber, but also might help in blood sugar regulation.
    • Chickpeas are inexpensive.
    • This recipe is a complete plant based meal. Nothing fancy or beyond the pantry shelves.
    • Various studies have shown that unsweetened coconut milk has very good effect on HDL“good” cholesterol levels and heart wellness.Even though unsweetened coconut milk is full of calories, it is said to have small amounts of MCT’s.
    • The spices like chili, garlic and ginger along with condiments like turmeric, garam masala are used in right amounts to bring out the benefits and right flavours of the dish.
    • Having biryani everyday may be frowned upon, but nothing beats a homemade biryani with your favourite add ins and accompaniments to have everyday 😉😉 with this easy, delicious, quick fix box.

    For the Graphic Food Lovers

    Free pdf Download Below

    Download the free printable (PDF)

  • A Date with Fruit and Nuts

    A Date with Fruit and Nuts

    Intro

    Smoothie is one of my favourite way to add nutrients from various fruits in a single sip. It might be best included as a part of your diet as well, rather than being your only diet. It sure makes for a great snack or for breakfast.

    The smoothie recipes here use ingredients promisingly, easy, delicious and readily accessible to you, at home, and they can be your favourite ingredients as well, or something you always wanted to try.

    Store bought fruit smoothie can be great to taste, but at the cost of other ingredients we never heard of. The smoothies are best made at home with a high speed blender and can be enjoyed all year long. There’s no sugar added, and everything comes from fruits and nuts we are familiar with. It can be 100% organic and allergen free nonetheless nutritious and healthy.

    This recipe is still delectable with interchanging fruits and vegetables, and hence challenging a store bought smoothie. So, why not dive into this easy, quick, two-step smoothie recipe.

    ***psst!***Don’t forget the free download for quick inspiration, or for fancy fridge magnets.

    Ingredients

    Directions

    1. Soak pitted dates, raw almond and cashew nuts in hot water for 10-15 mins.
    2. In a High Speed blender, add 2 cups almond milk ,add soaked dry fruit and nuts , and cup of water and frozen fruit.
    3. Blend until everything comes together smoothly.
    4. Add more water if you want a runny consistency.
    Interchange
    • You can swap almond milk with any plant based milk or simply water.
    • You can use only one type of nut if you are allergic to one or the other.
    • You can swap kale to spinach.
    • You can use mixed berry variety for strawberries.

    Nutritional Facts

    The information here is just an estimate and derived from an online nutritional analyzer or calculators. it is only for courtesy and convenience. Not to be considered as an alternative to professional’s advice.

    • This recipe serves 3.
    • Nuts in your smoothie can be a great way to amp up the smoothie power.
    • Almonds and Cashews are great ones to start with if you are new to the smoothie game. They are full of calories, since they mostly contain healthy form of fats.
    • These nuts are rich in protein, iron and calcium. Once added to your smoothie it often gives you the satiated feeling.
    • Dates are the nature’s sugar, without any processing. It’s acute sweetness gives smoothie the rich and sugary taste.
    • Dates are rich in antioxidants, fibers. They aid in reducing the risk of heart diseases, cancers and other chronic illnesses.
    • They are vital in controlling blood sugars,the GI of dates is lower than table sugar and might help in managing diabetes.
    • The fruits like strawberries and mangoes are nutrient dense and helps in improving our immune system by preventing diseases.
    • Spinach is a great addition to the smoothie as it is an excellent health boosting ingredient. It is rich in iron, and has nitrates that are shown to boost heart health.
    • Smoothie can be your homemade favourite to enjoy with so many nutrient dense, healthy, and delicious benefits.

    For The Graphic Food Lovers

    Free pdf Download Below

    Download the free printable (PDF)

  • Quick’r Tupp’r Yogurt

    Quick’r Tupp’r Yogurt

    Intro

    Growing up in a tropical climate , yogurt always came to aid to cool down the body’s heat. My afternoon lunch at school always had yoghurt and rice. up until I graduated. After a full summer activity, the yogurt was churned with some salt and lime to make a savoury, delicious and refreshing drink.

    Yogurt has a lot of benefits nutritionally. It may be used to have on its own, or added to the smoothies for protein and thickness, put in sauces and curries for richness and sourness, and many more things to do with it.

    This is all about how you can make yogurt at home with your own starter, filled with probiotics naturally and avoiding processed, packaged and parceled things.

    It is delicious, homemade, easy and quick to make.

    psst! Don’t forget the free download for quick peek in your kitchen, and unconditionally share the love.

    Starter Method

    In a deep saucepan, on a medium heat, boil the milk until there’s cream layer on top.

    1. Pour the milk in heat proof bowls.
    2. Wait until the milk is luke warm to touch.
    3. Pour the milk in two seperate small bowls.

      1. Add 2 – 3 green chillies with stalks still intact (preferably bird eye chillies, or the kind found in Asian stores)
      1. Add 2 dry red chillies with stalks
    4. Cover the bowls with a lid not too tight and place it in a warm place.(in the microwave with it’s light on, or an oven with its light on)

    5. In about 10 – 12 hours, yoghurt starters are ready to use.

    6. The bowls have different consistency, so pick one and make it your starter.

    7. These starters are not to be eaten fresh because they might tend to taste very tangy and sour.

    Homemade Yogurt

    1. Boil about 1/2 a gal homogenous whole milk on medium heat.
    2. Transfer the milk to the heat proof bowl when lukewarm, or warm to touch.
    3. Stir in about 2 tbsp of starters, (without the chillies) that is freshly made.
    4. Cover your bowl lightly and place it in a warm place.
    5. Leave it overnight or for 6 – 8 hours.

    6. Once it is done, you have the yogurt ready to be ingested with all its natural probiotics.

    7. All you will need is a couple of tablespoons of this same yogurt to make a fresh batch of yogurt.
    8. It is as easy as a breeze with little time on hands.

    Nutritional Facts

    The information here is just an estimate and derived from an online nutritional analyzer or calculators. it is only for courtesy and convenience. Not to be considered as an alternative to professional’s advice.

    • Theserving for this recipe is about 8 – 10.
    • Yogurt is best known for its probiotics, providing boost to your gut health.
    • Plain Yogurt devoid any added sugars, and only natural sugars found in a healthy food.
    • It is a good source of protein, you can boost your protein shakes with 1/2 cup yogurt.
    • Amazingly rich in calcium, bone health may be improved.
    • Studies have shown very convincing results for muscle strengthening with yogurt consumption.
    • Yogurt not only a snack all by itself but can be included in your snacks, like granola cups, fruit cups, savory dips, and accompaniment for spicy dishes.
    • This easy, delicious, homemade yogurt makes its special and just few steps away to make it into your favorite dishes.

    !!NOT A DAIRY FREE!!

    For The Graphic Food Lovers

    Free pdf Download Below

    Download the free printable (PDF)